API Gateway Configuration
In this section, we will configure Amazon API Gateway to act as the primary endpoint for all deployed Lambda functions. Additionally, we will secure the API by integrating a Cognito Authorizer.
Step 1: Configure API Gateway Resources
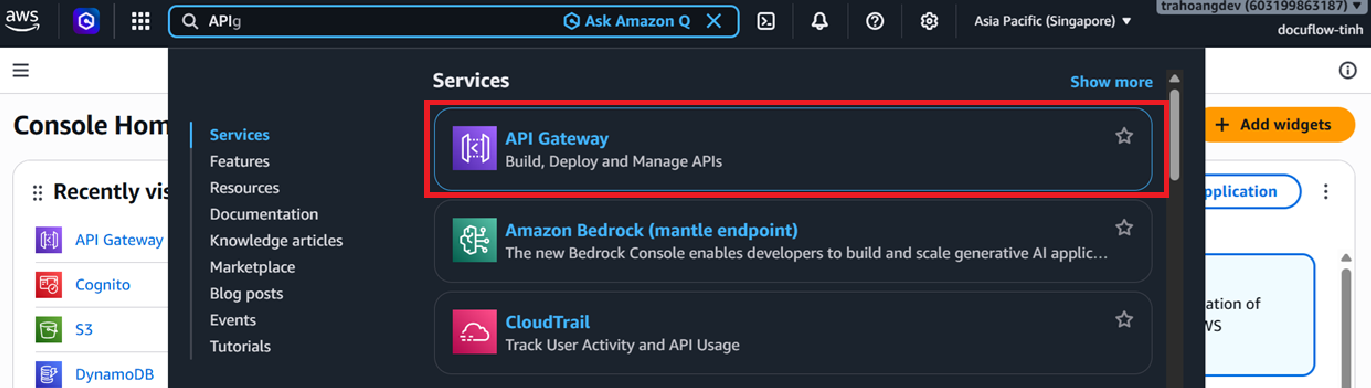
Search for API Gateway in the AWS Console.
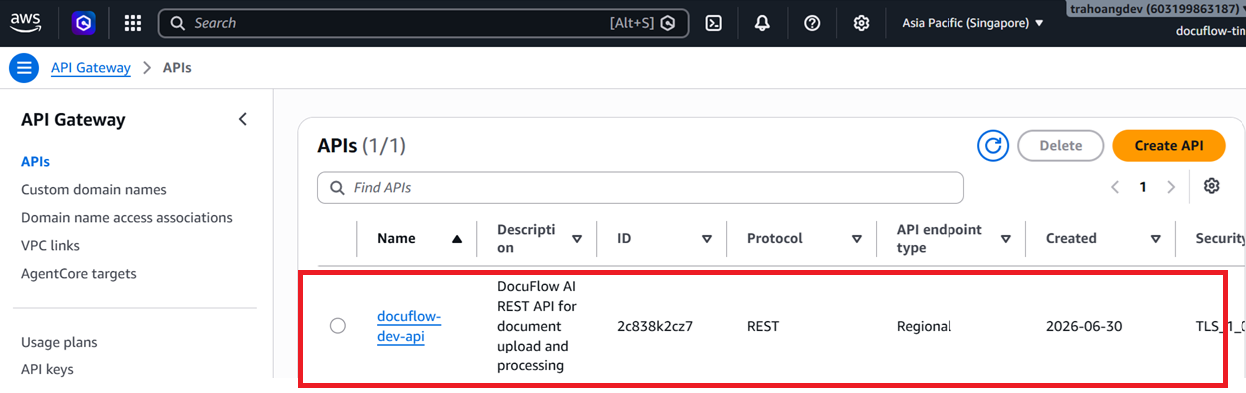
Select the API Gateway that was previously created (or create a new HTTP/REST API).
Select the
documentresource.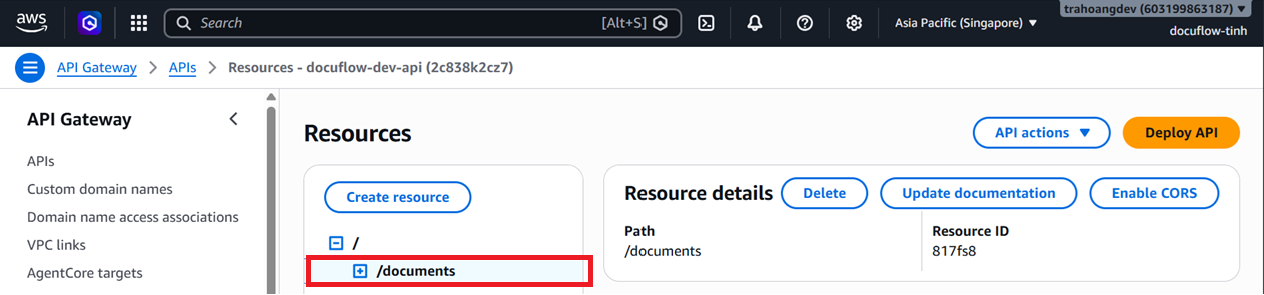
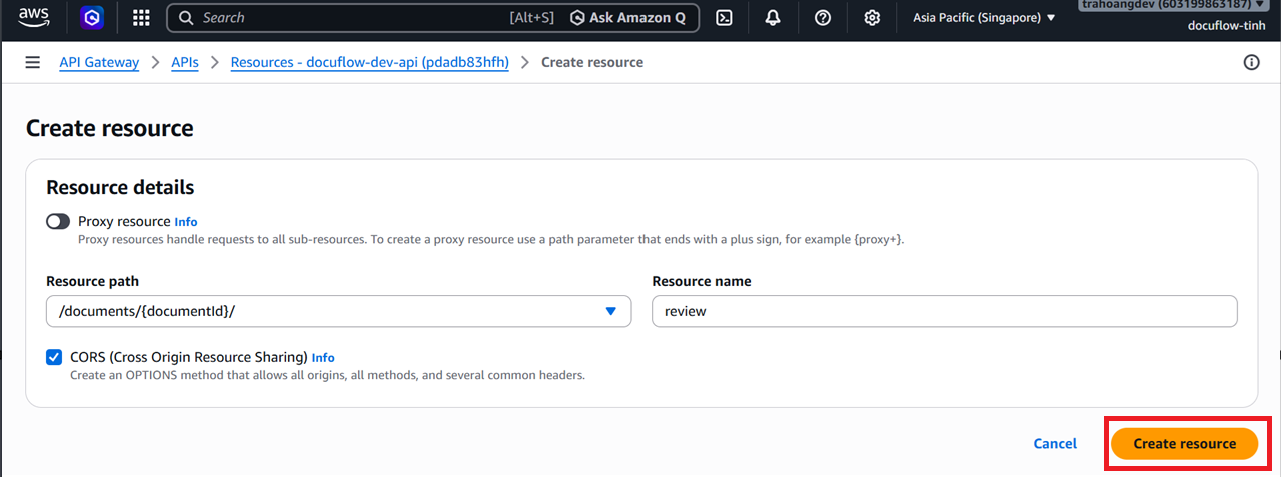
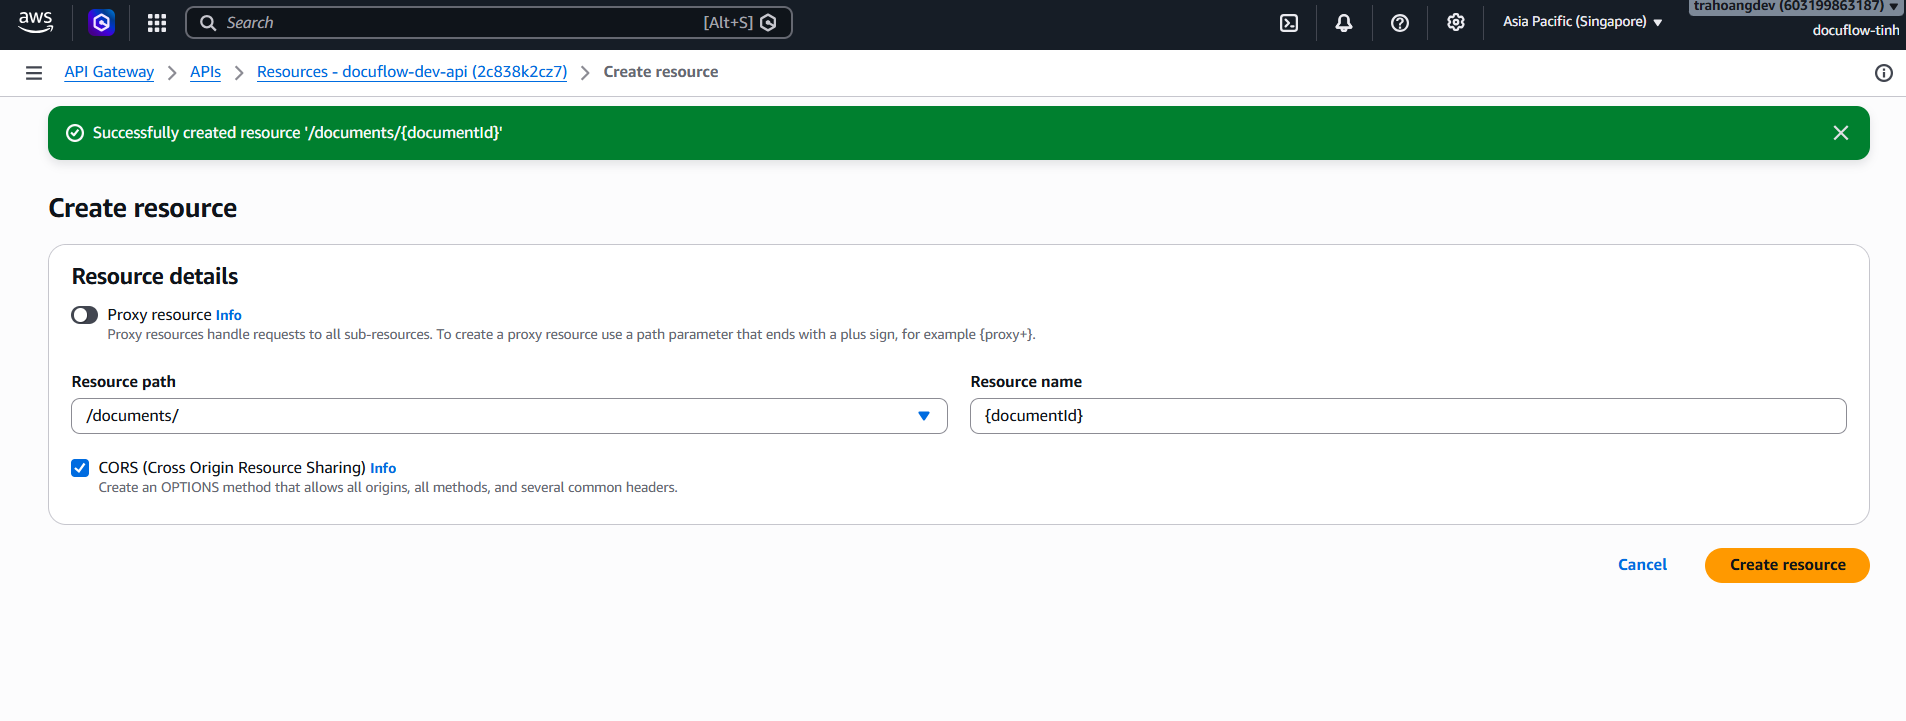
Click Create resource.
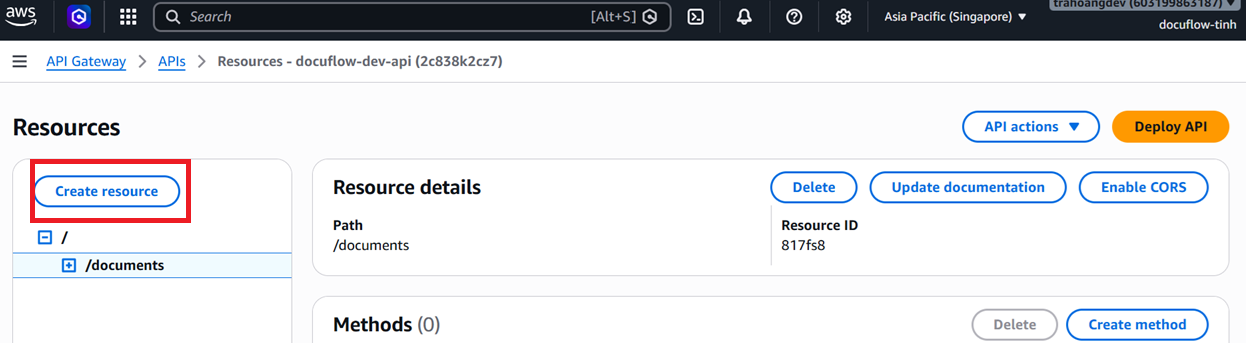
Enter
{documentId}as the resource name.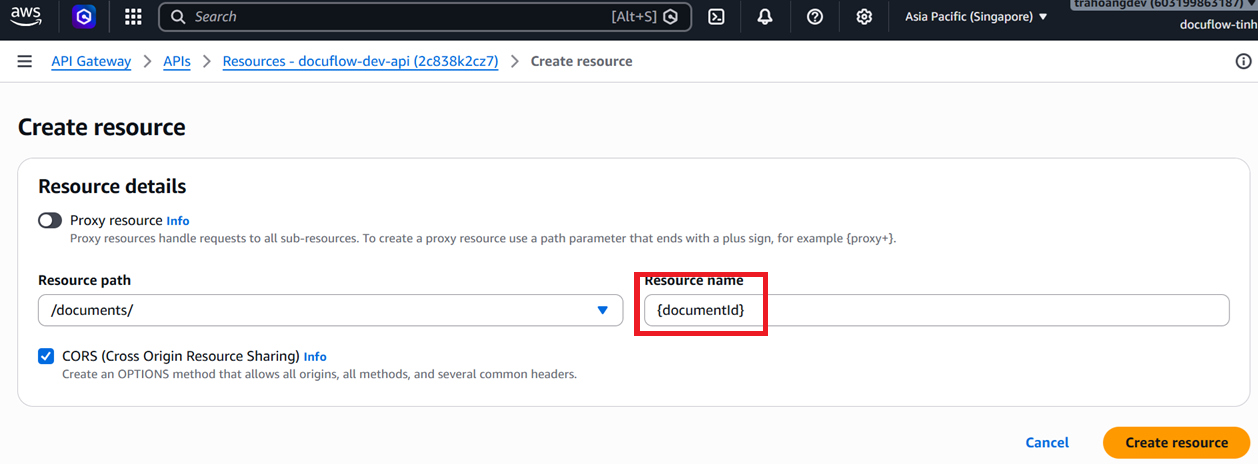
Click Create resource.
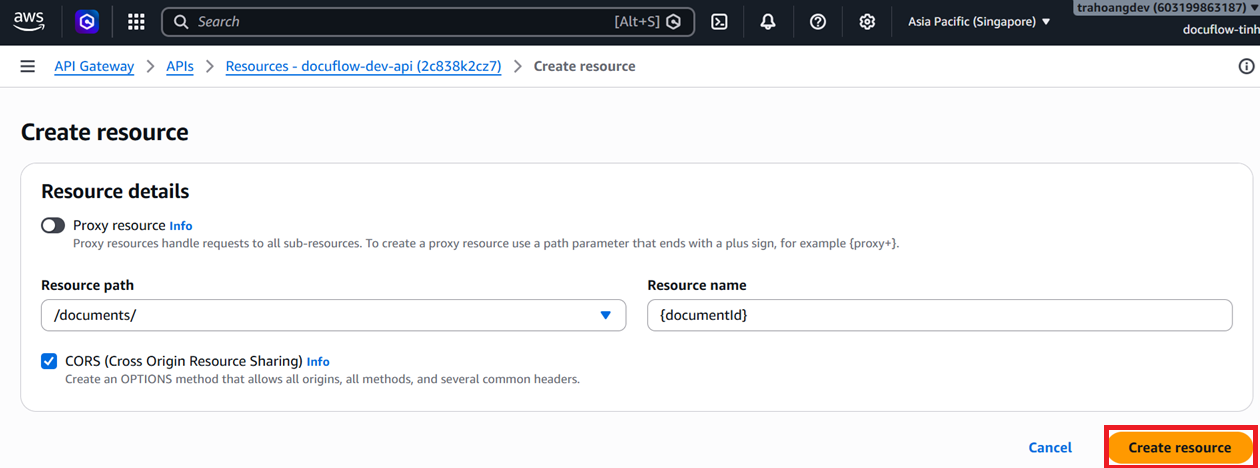
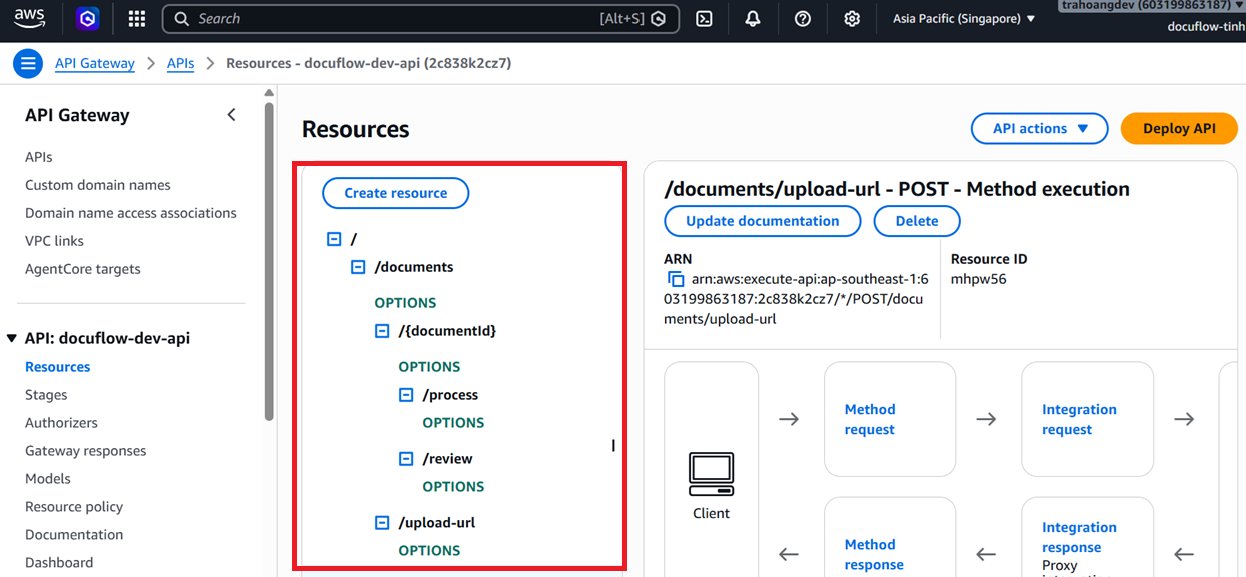
Repeat the process to create the following resource paths:
/documents/{documentId}/process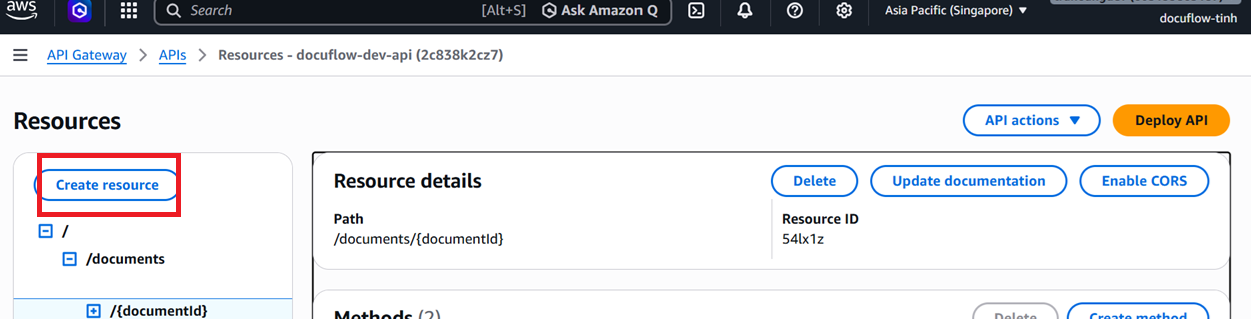
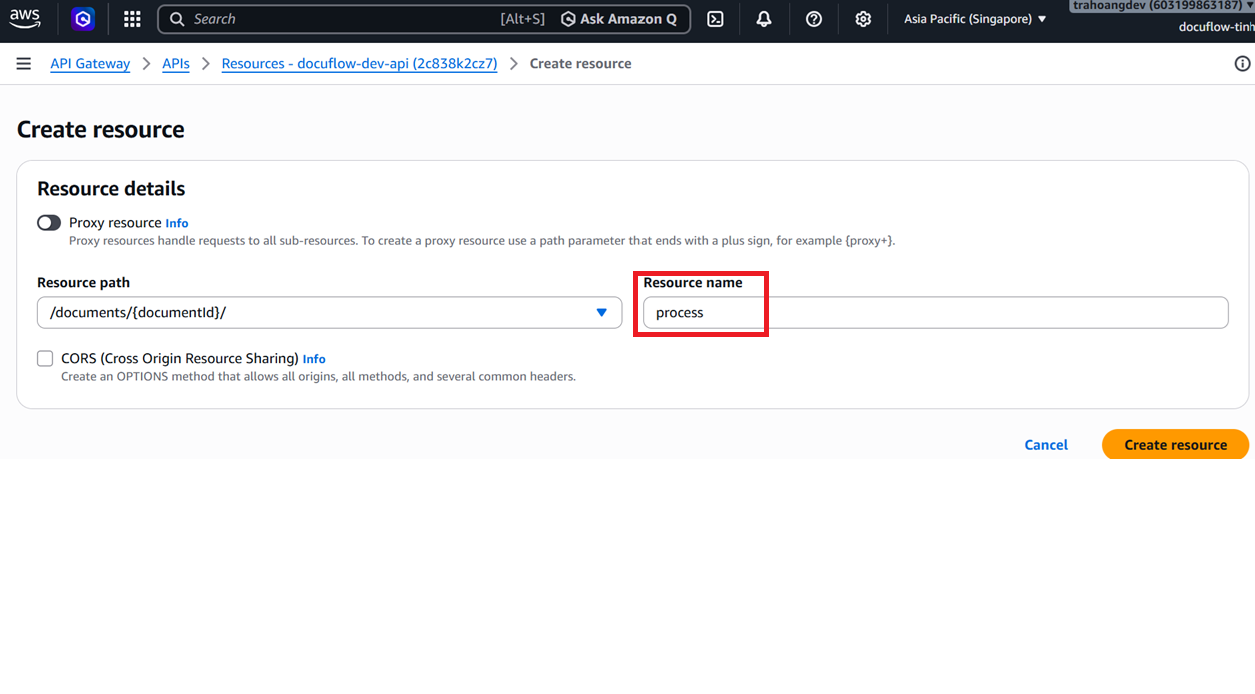
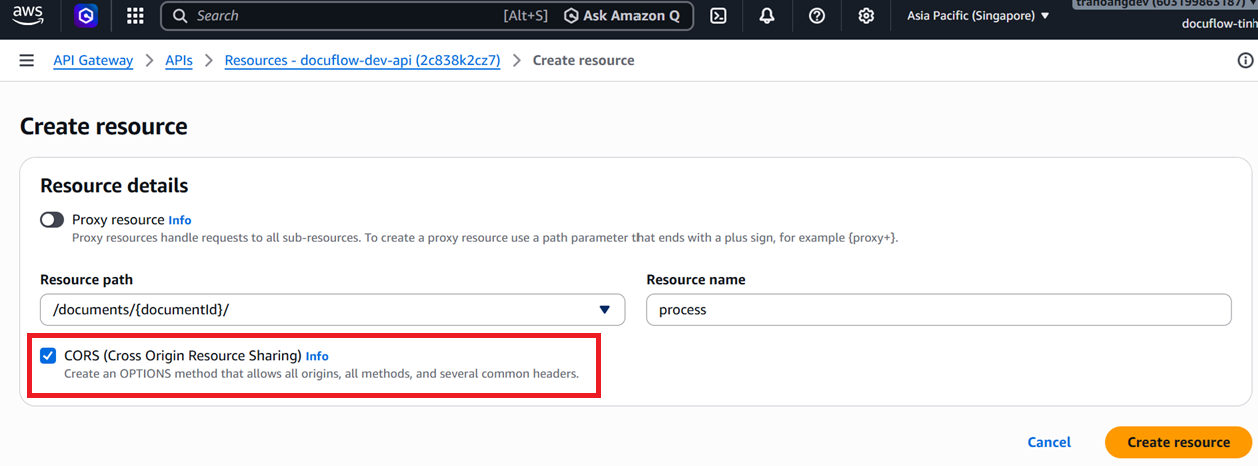
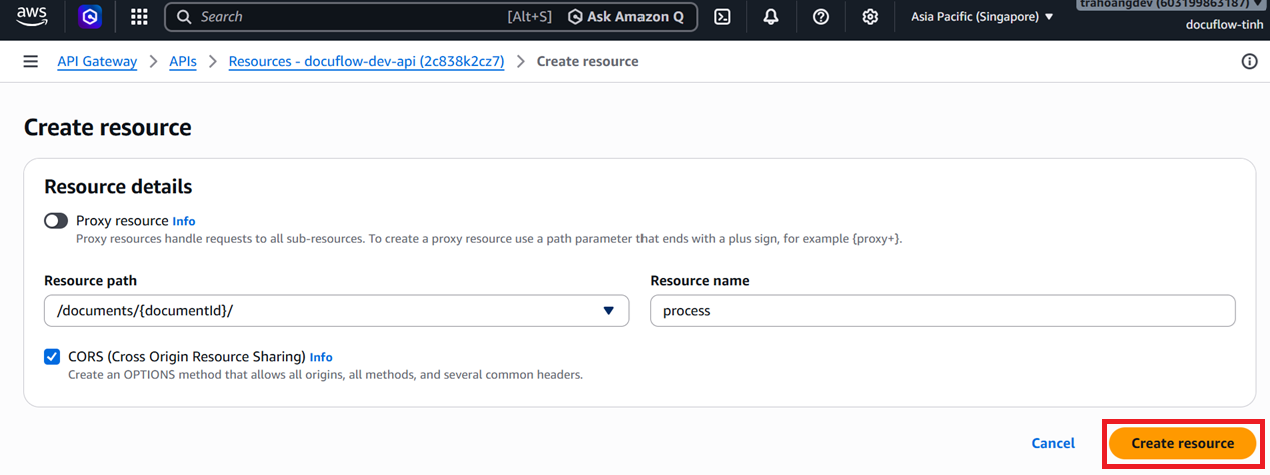
/documents/{documentId}/review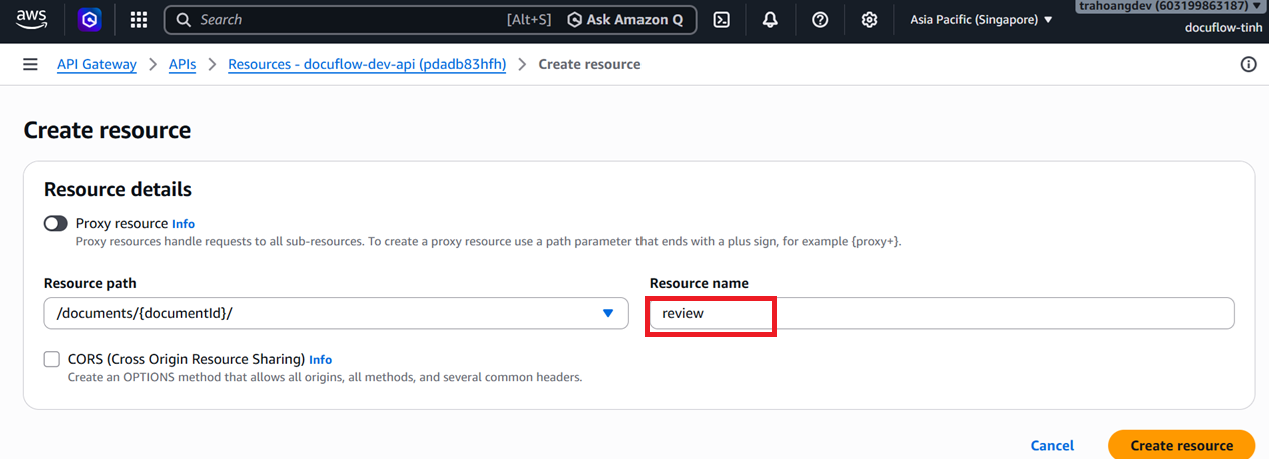
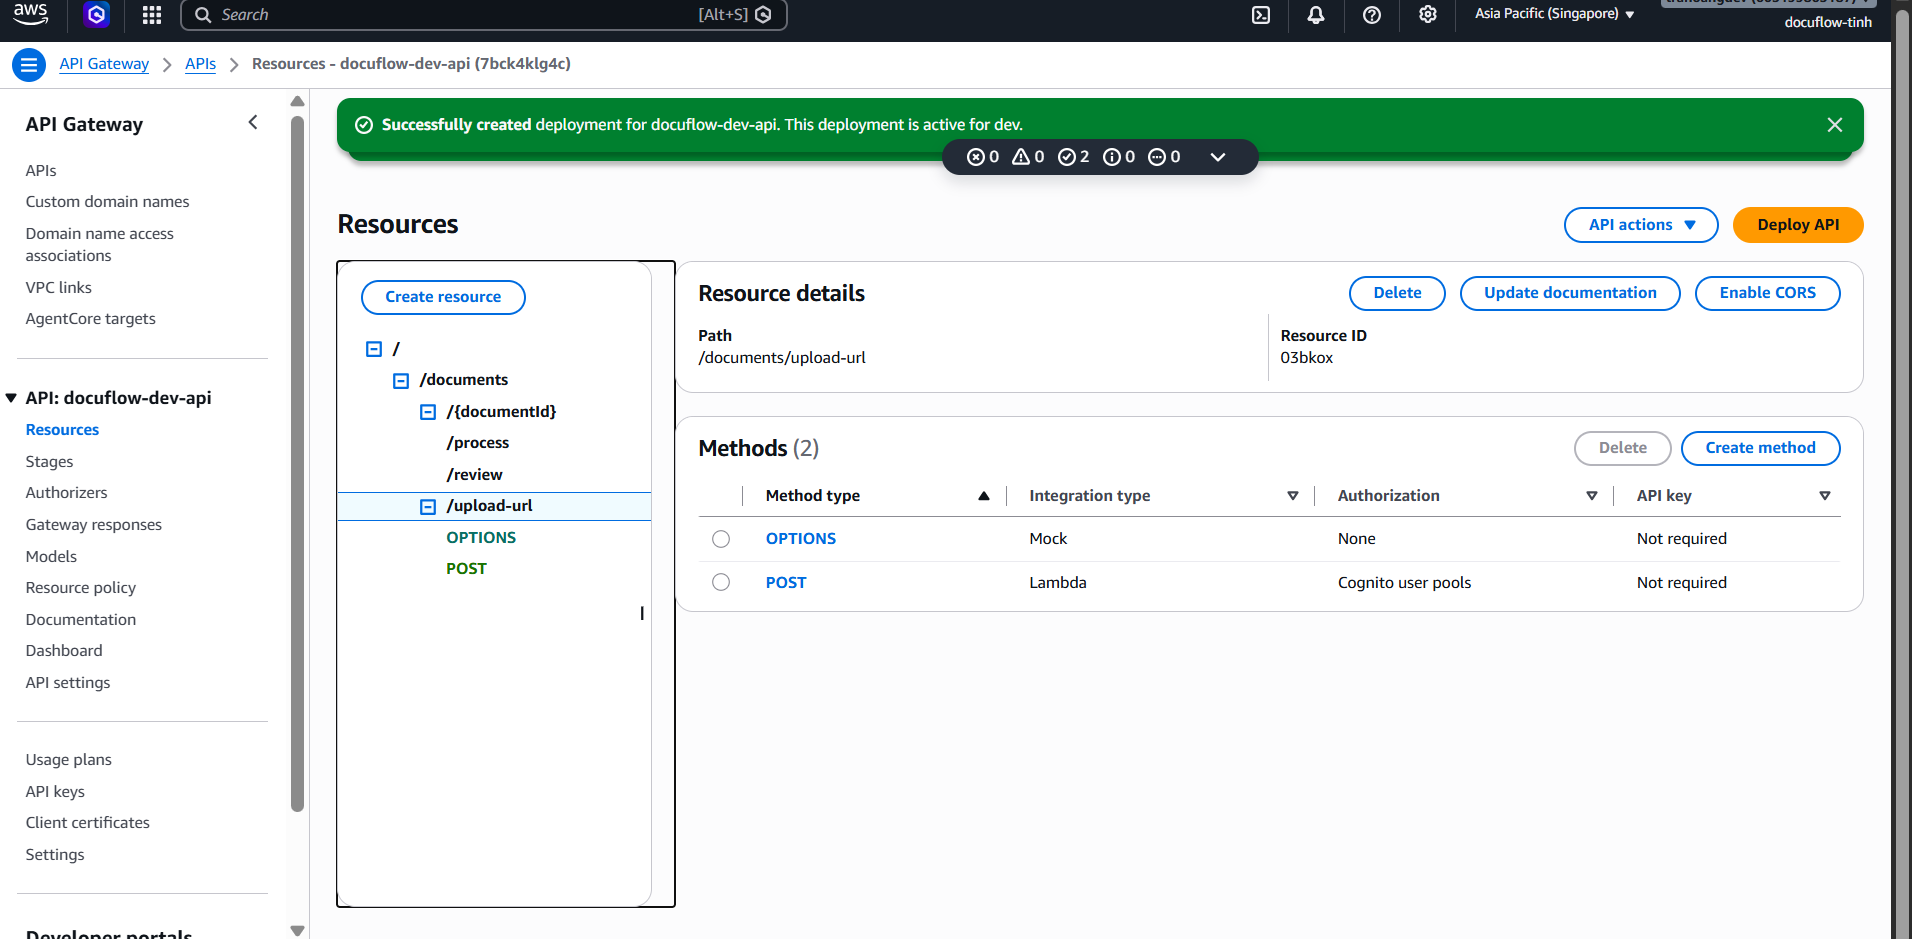
Verify the completed resource structure.
Step 2: Create Methods and Integrate Lambdas
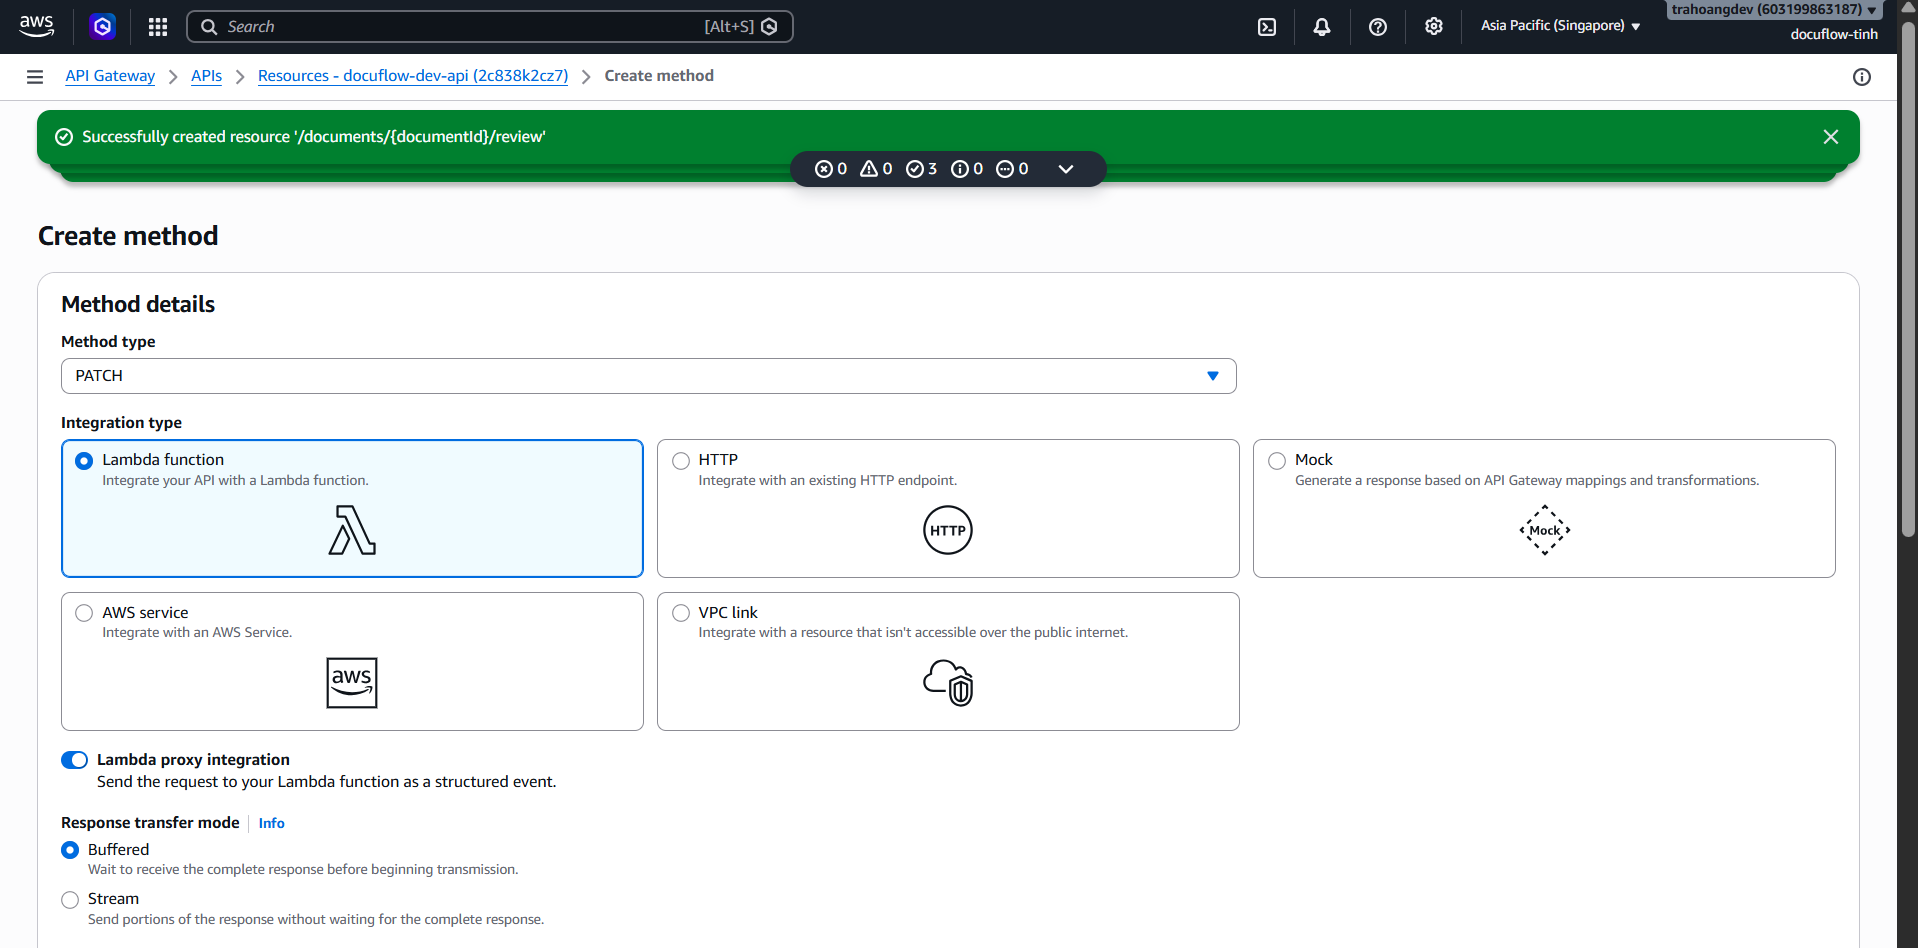
Select the
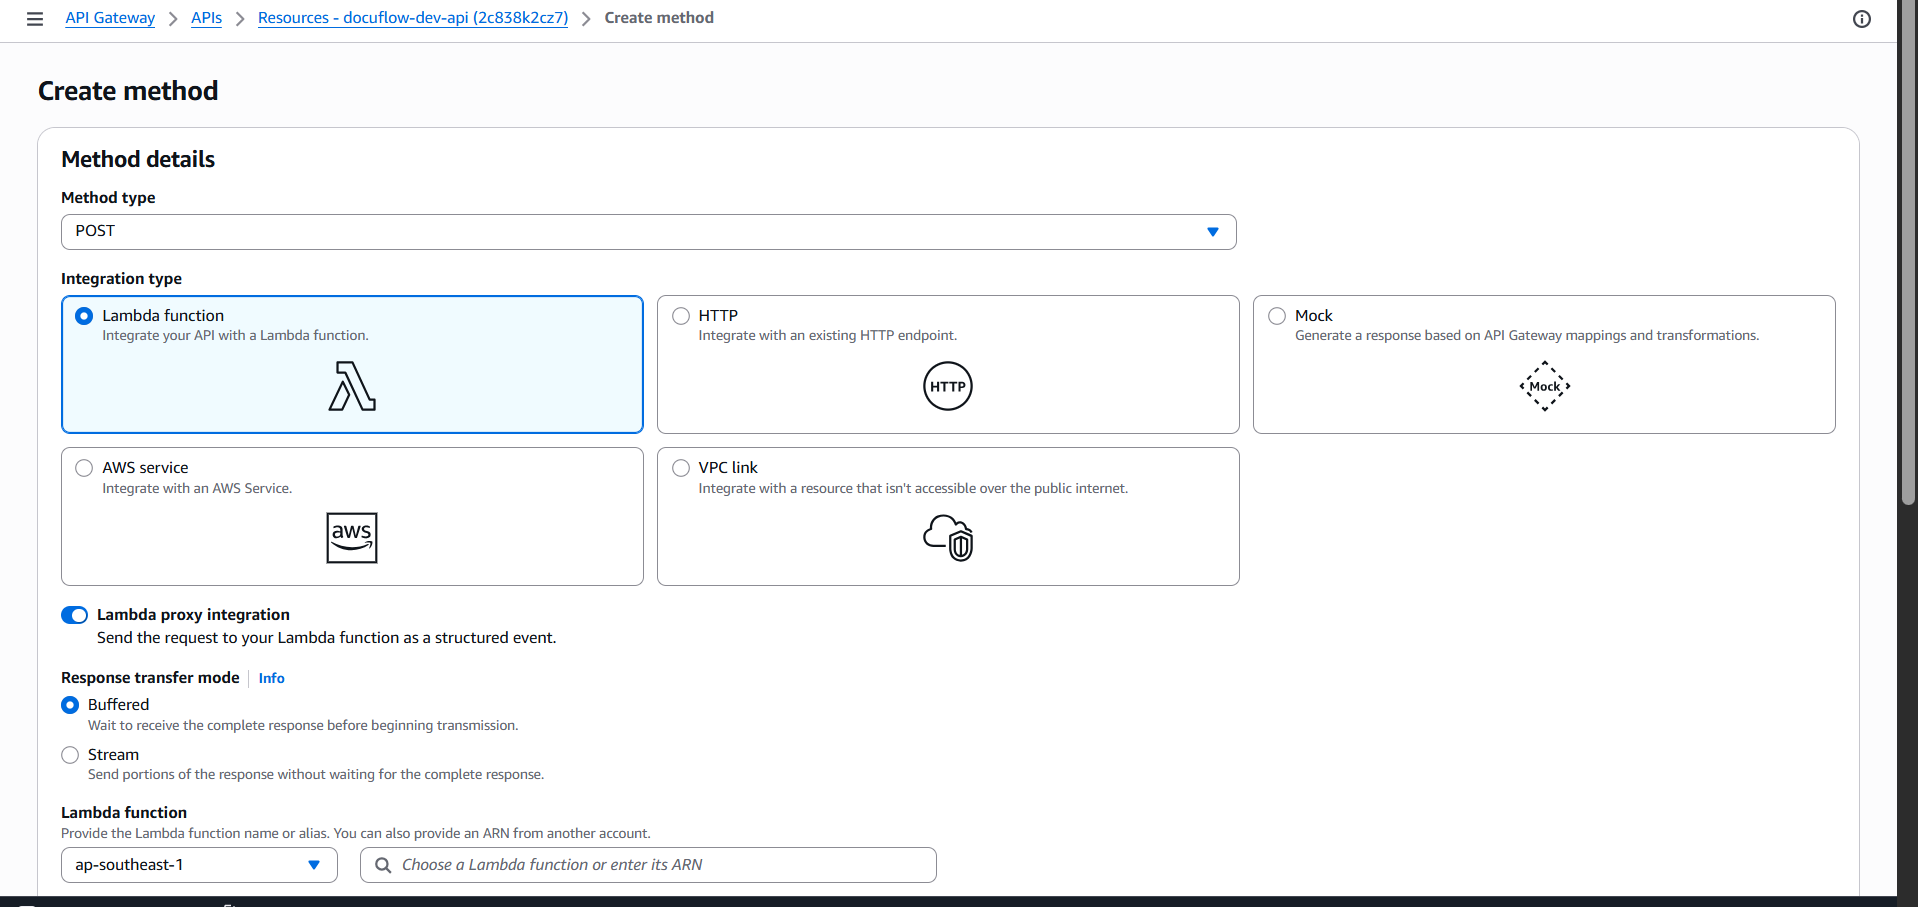
documentresource and click Create method.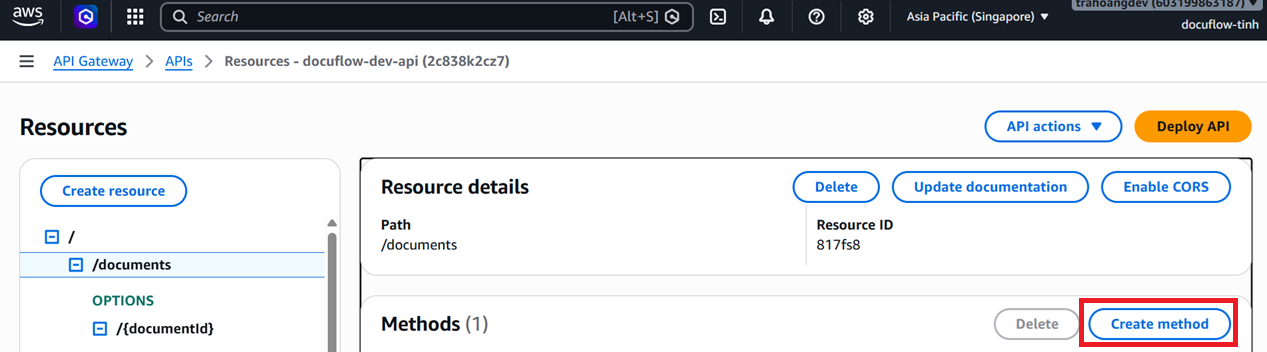
Select GET as the method type.
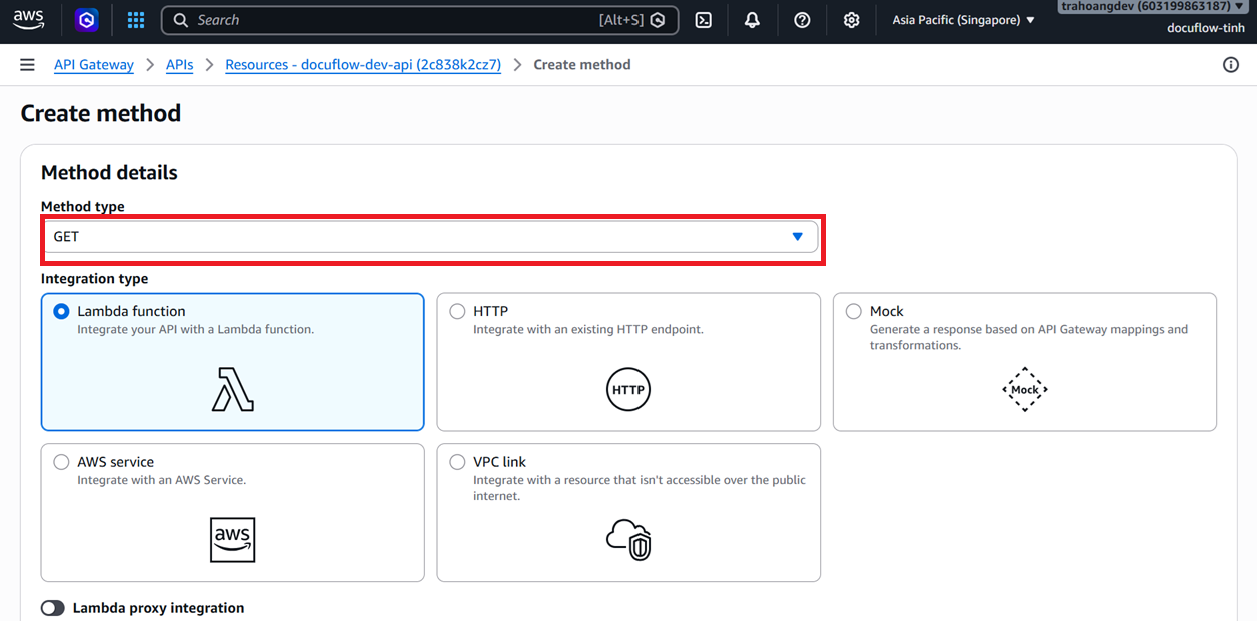
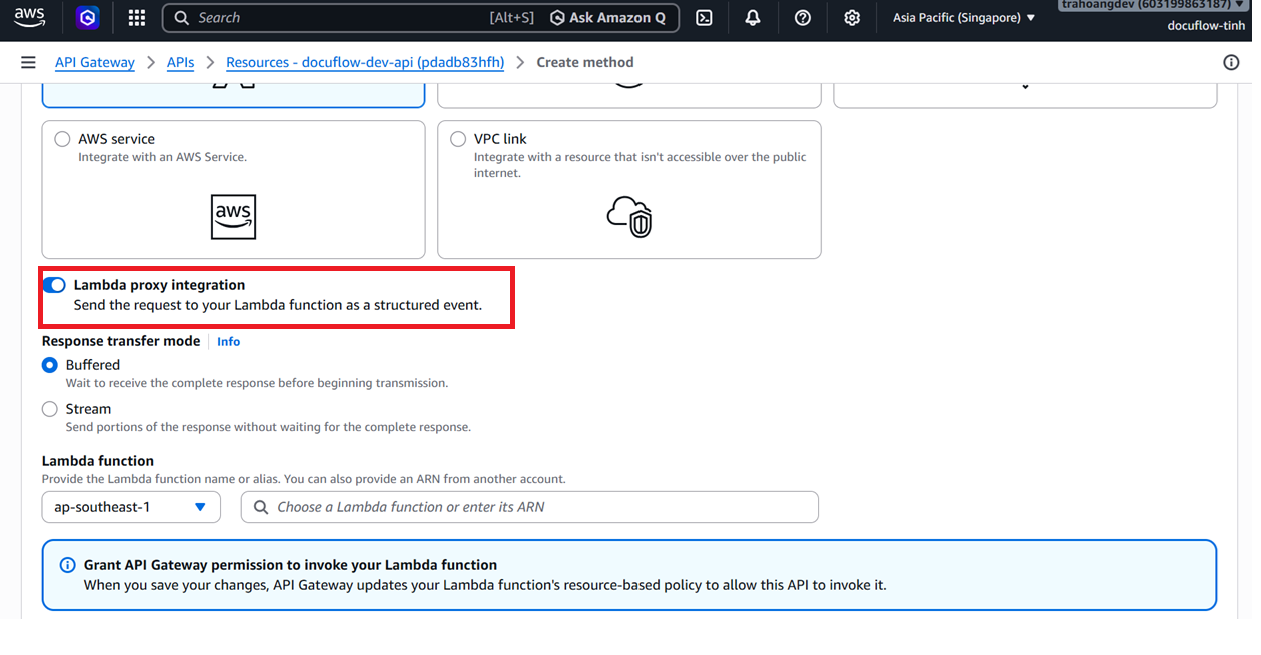
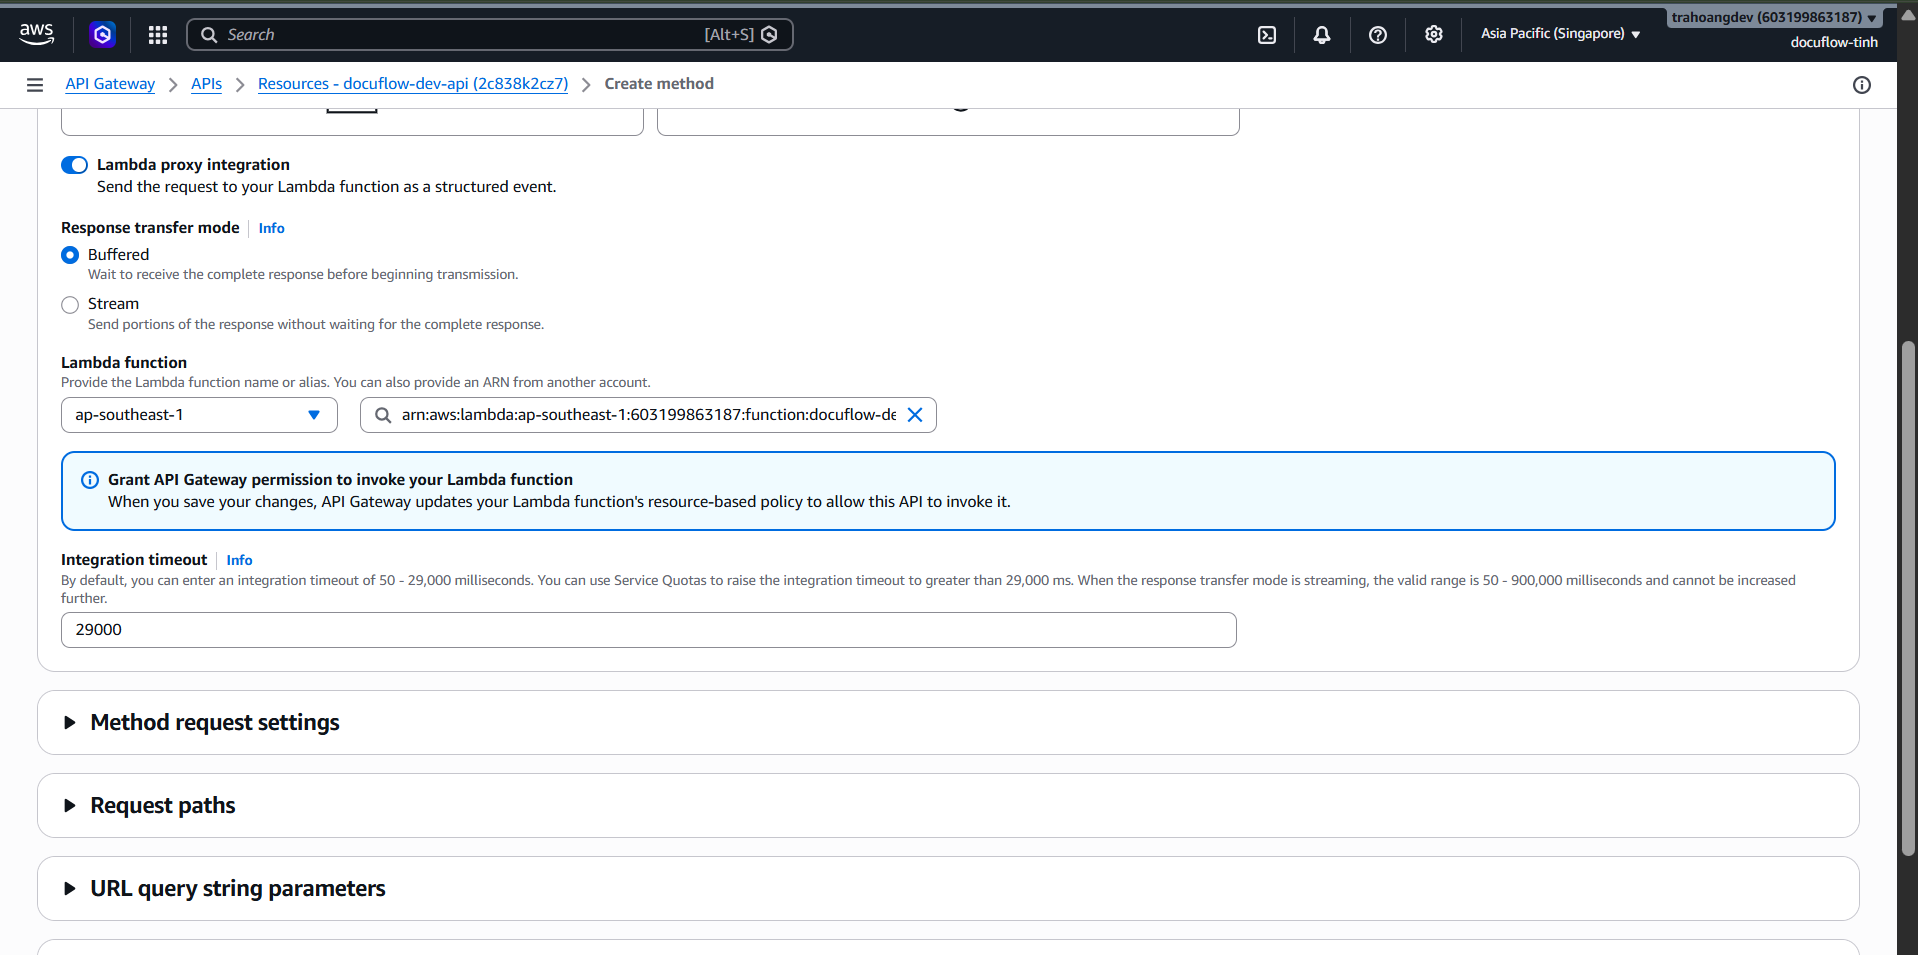
Enable Lambda proxy integration.
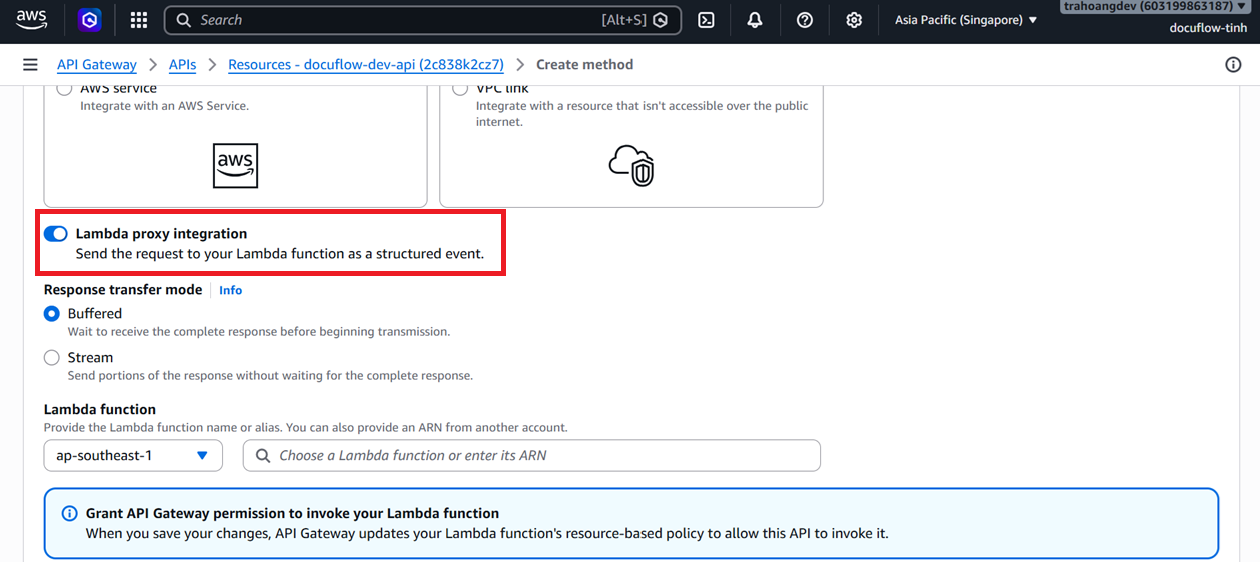
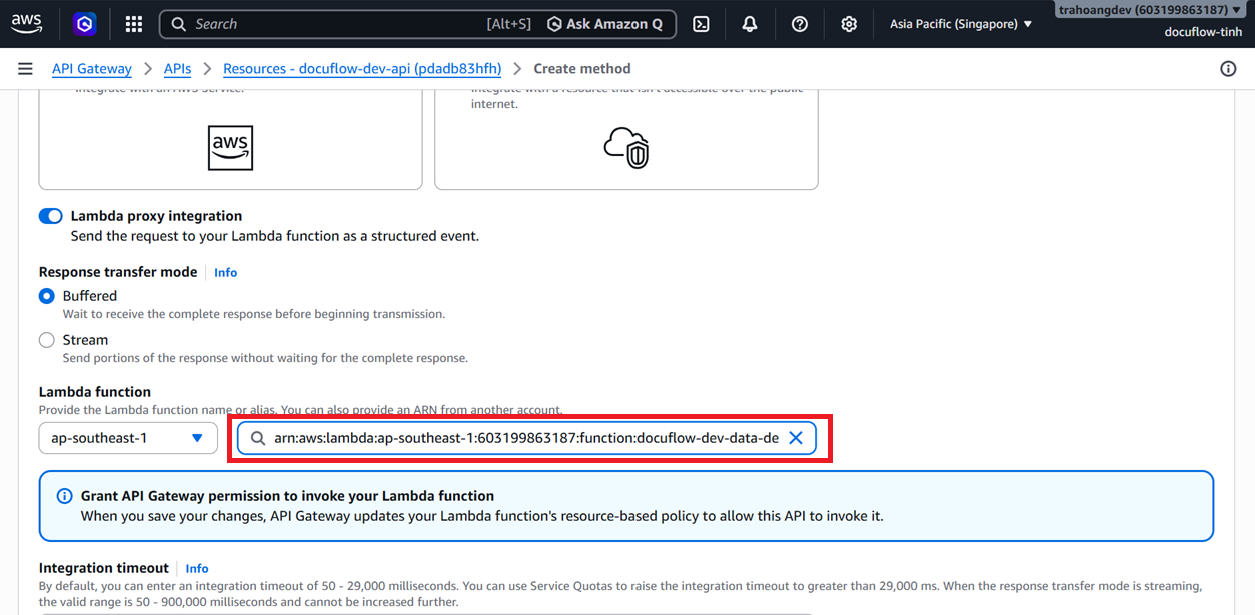
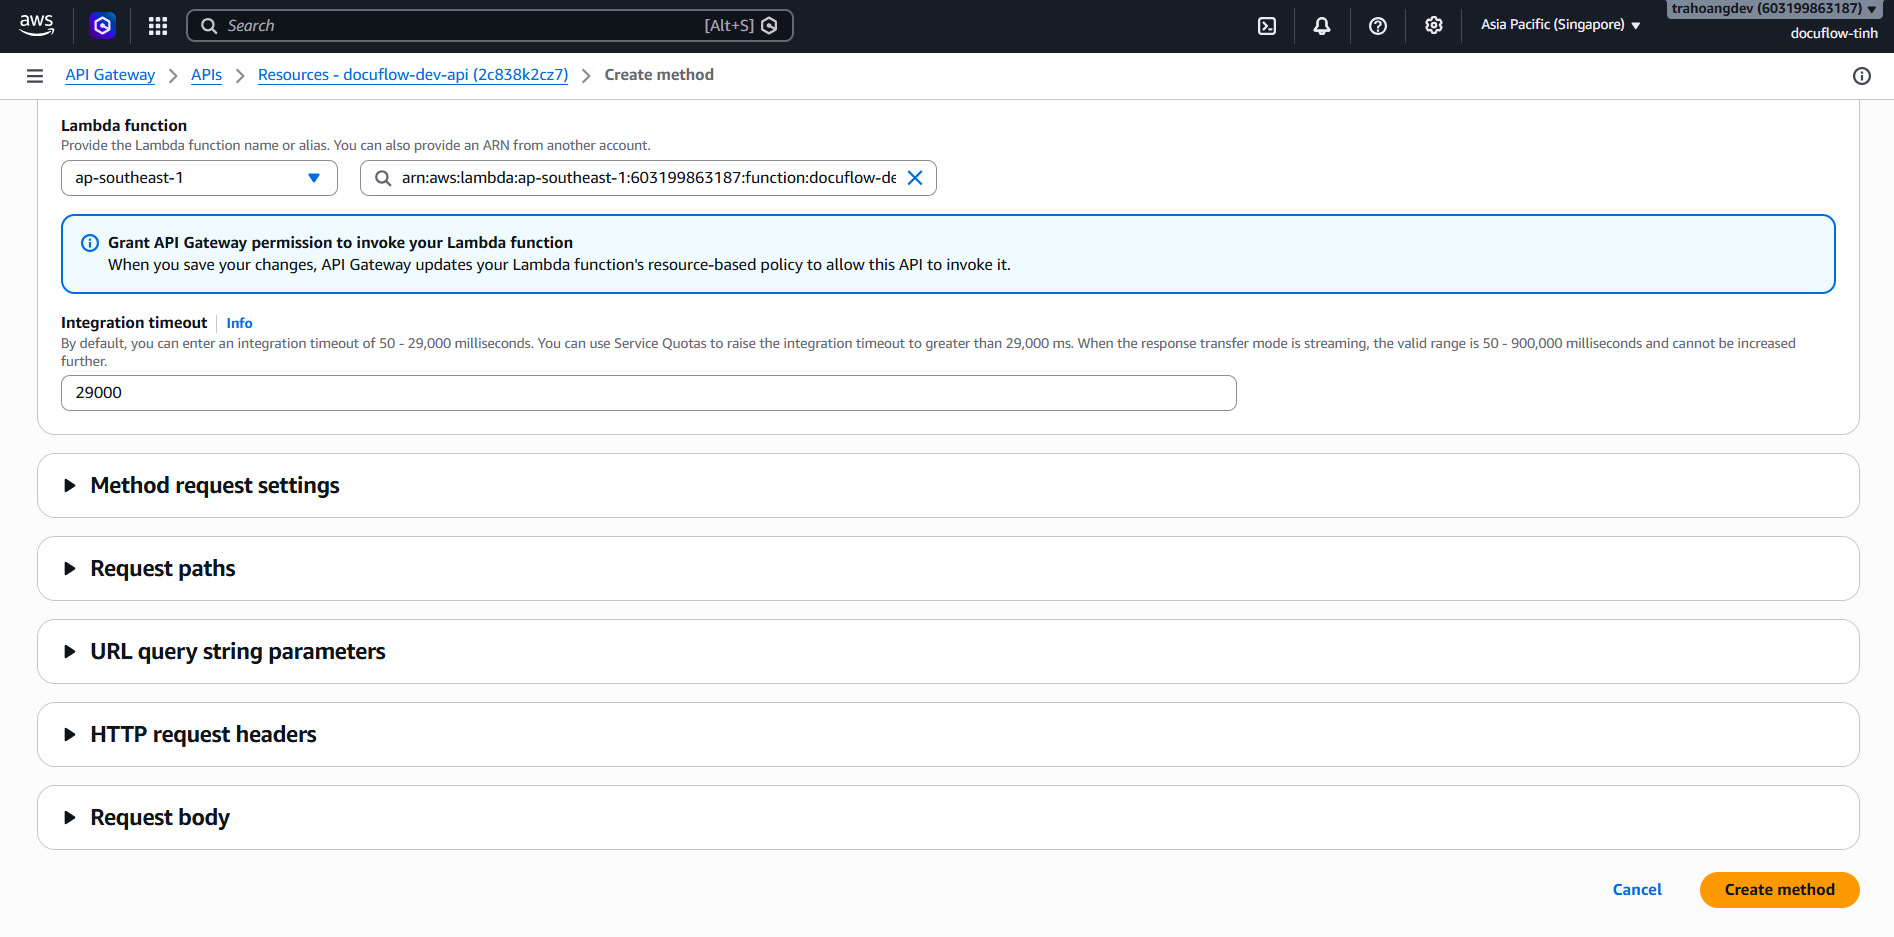
Choose the lambda function ending with
docuflow-dev-data-list-documents-lambda.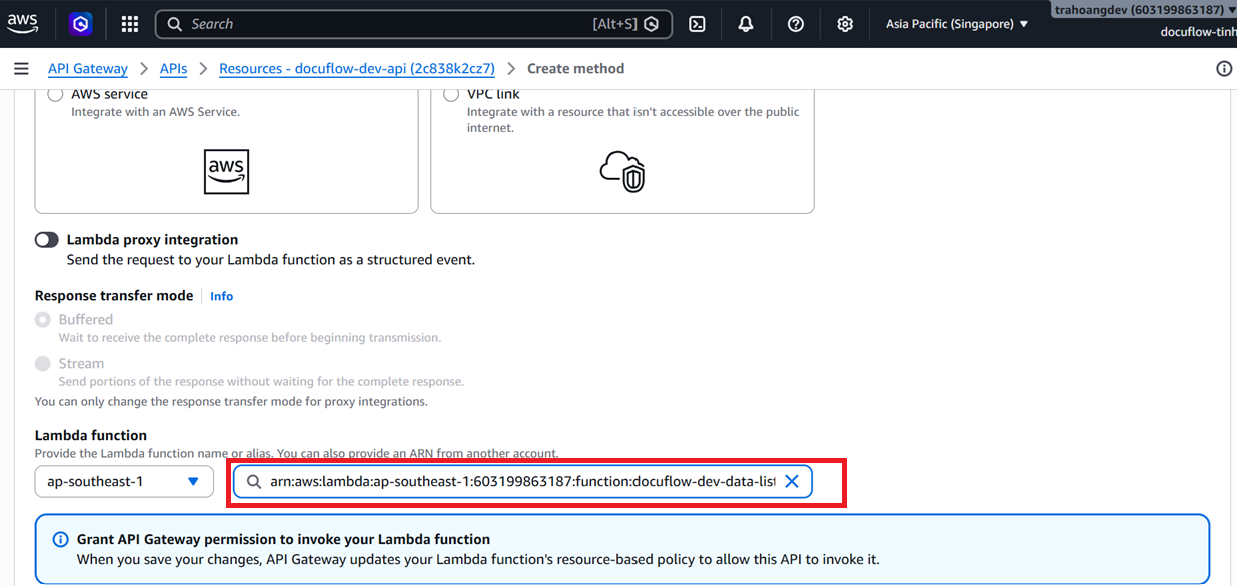
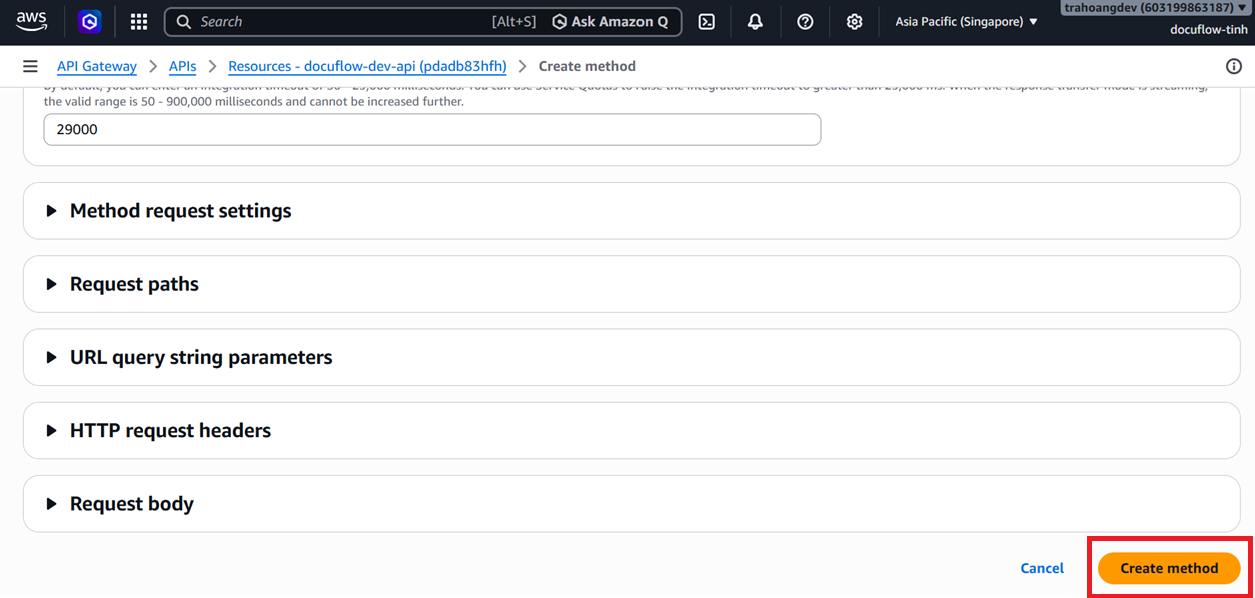
Click Create method.
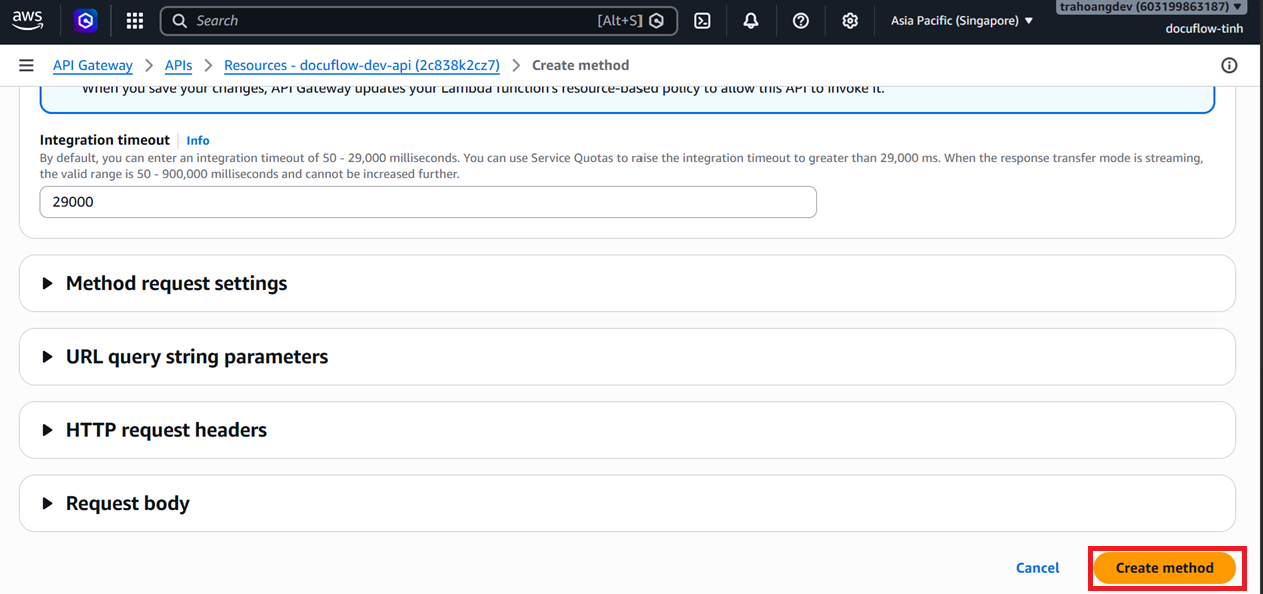
Repeat the process to create the following methods and map them to their respective Lambda functions. Routes marked optional extension depend on the three extended Lambdas from section 5.7.2 and are not required for the approved MVP:
Optional extension:
DELETE /documents➔docuflow-dev-data-delete-lambda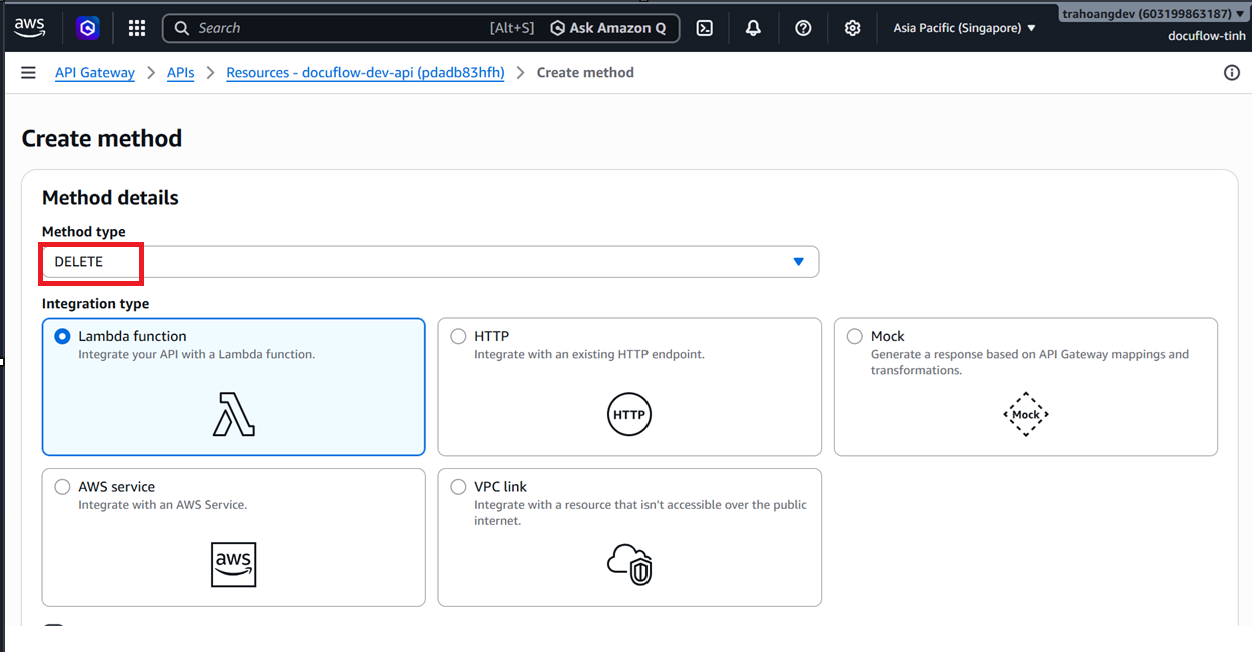
Optional extension:
DELETE /documents/{documentId}➔docuflow-dev-data-delete-lambda
GET /documents/{documentId}➔docuflow-dev-data-get-document-lambda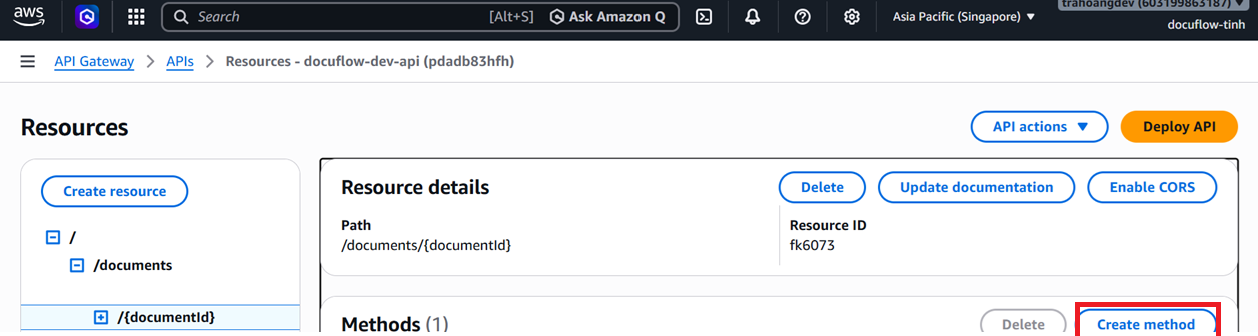
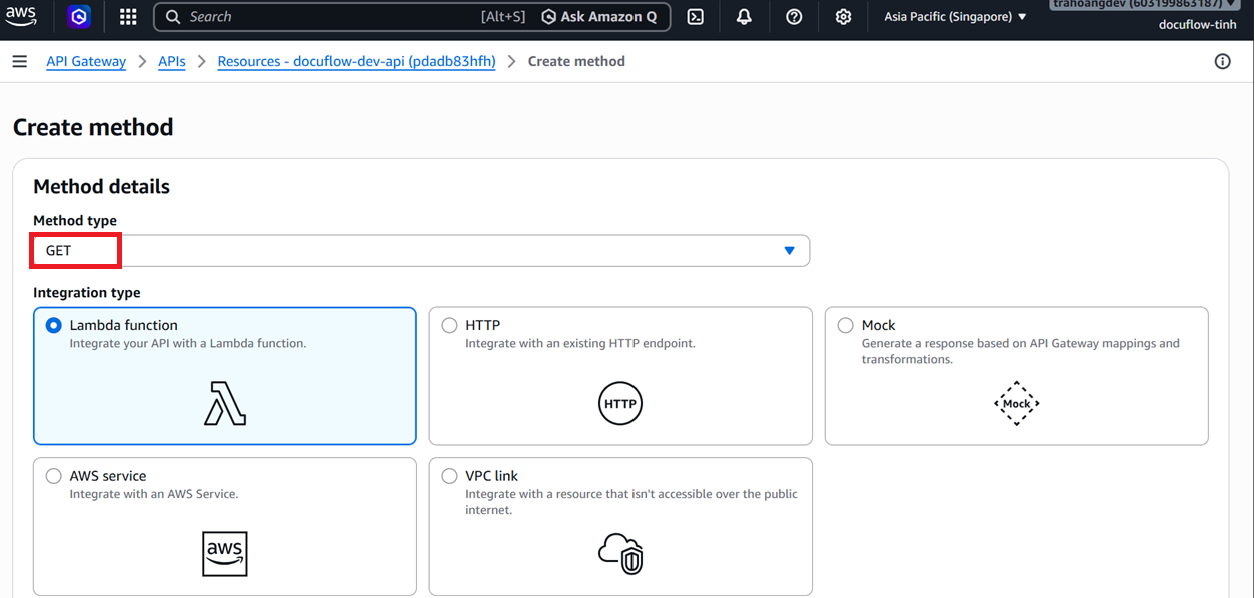
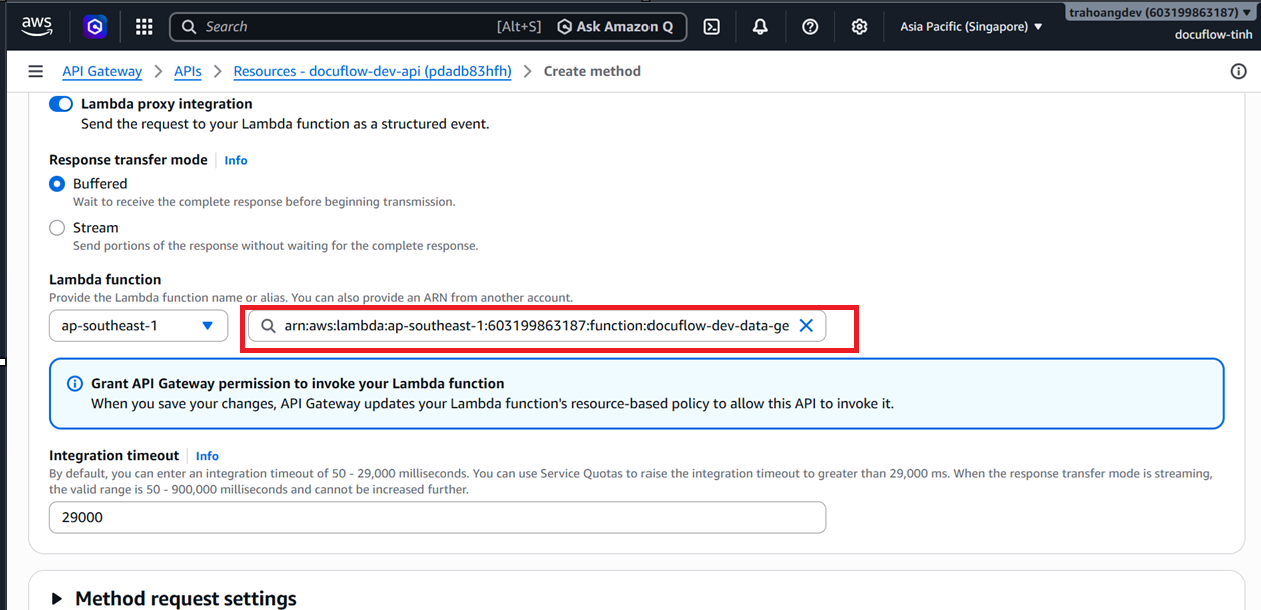
Optional extension:
POST /documents/{documentId}/process➔docuflow-dev-data-process-control-lambda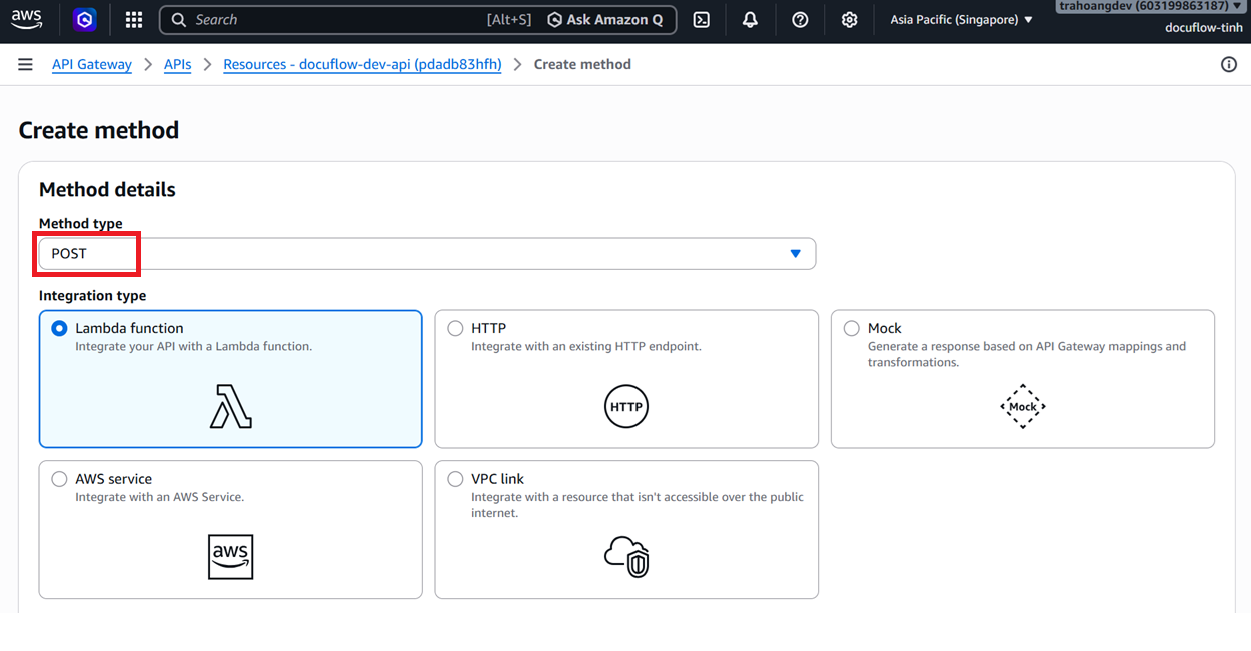
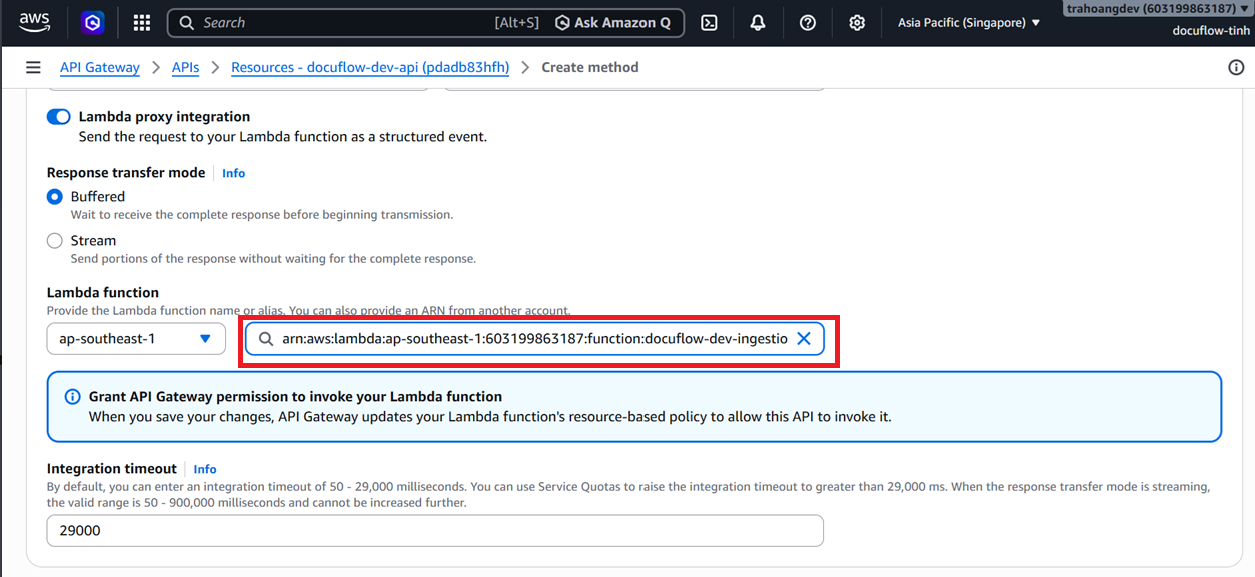
PATCH /documents/{documentId}/review➔docuflow-dev-data-review-update-lambda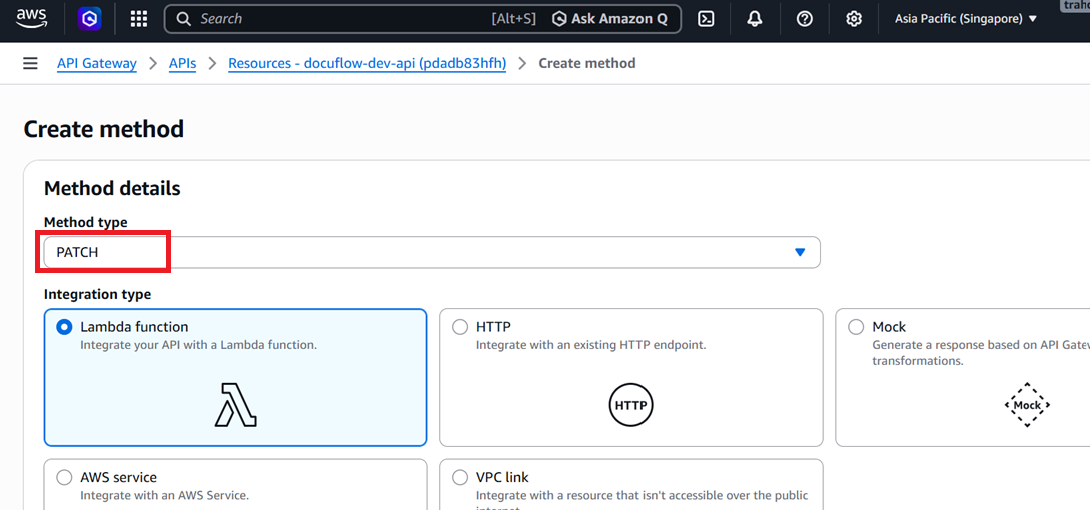
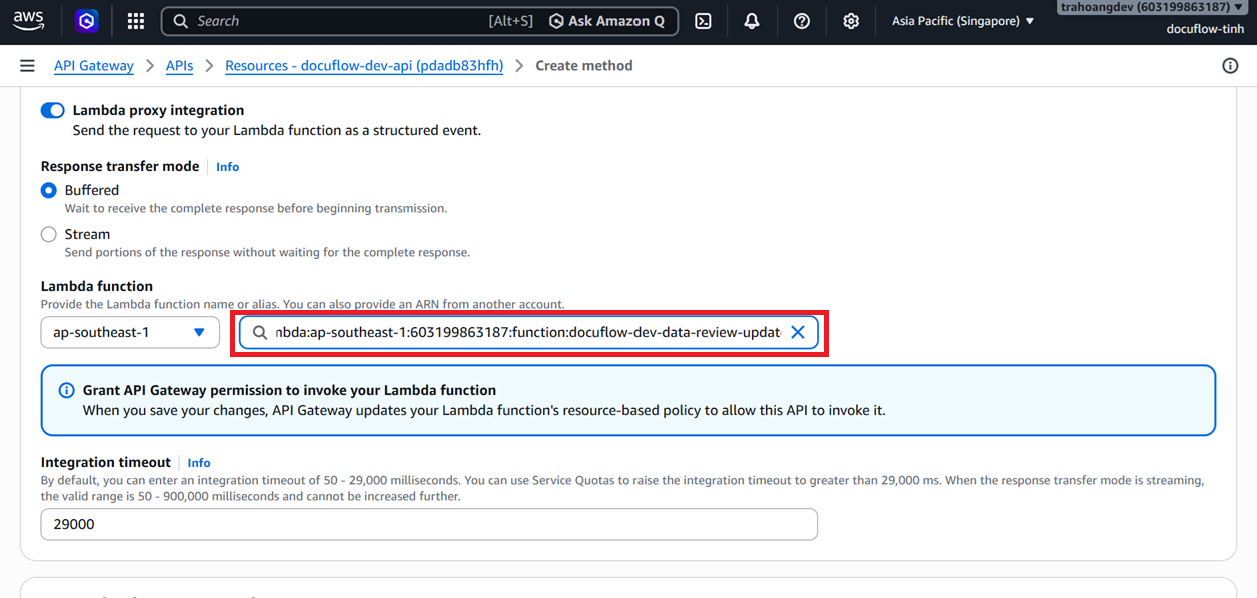
Optional extension:
POST /documents/{documentId}/retry➔docuflow-dev-data-process-control-lambdaPOST /documents/upload-url➔docuflow-dev-api-generate-upload-url-lambdaOptional extension:
GET /notifications➔docuflow-dev-data-dashboard-lambdaOptional extension:
PATCH /notifications/{notificationId}➔docuflow-dev-data-dashboard-lambdaOptional extension:
GET /activity➔docuflow-dev-data-dashboard-lambdaOptional extension:
GET /reports/summary➔docuflow-dev-data-dashboard-lambda
Step 3: Configure Cognito Authorizer
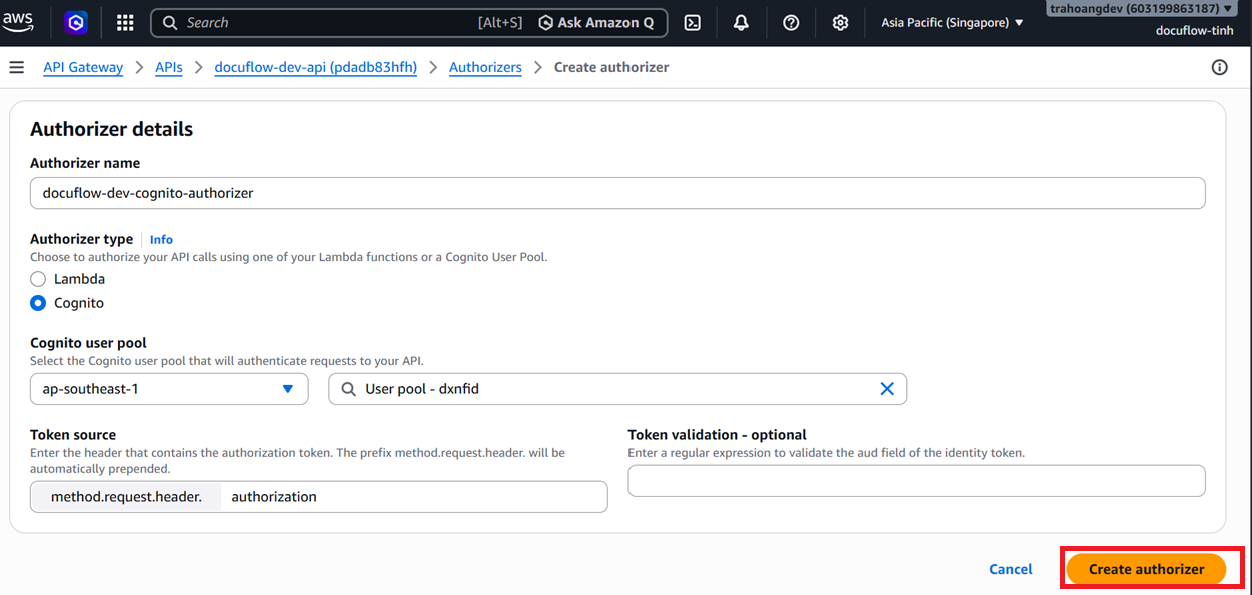
In the API Gateway console, select Authorizers from the left navigation pane.
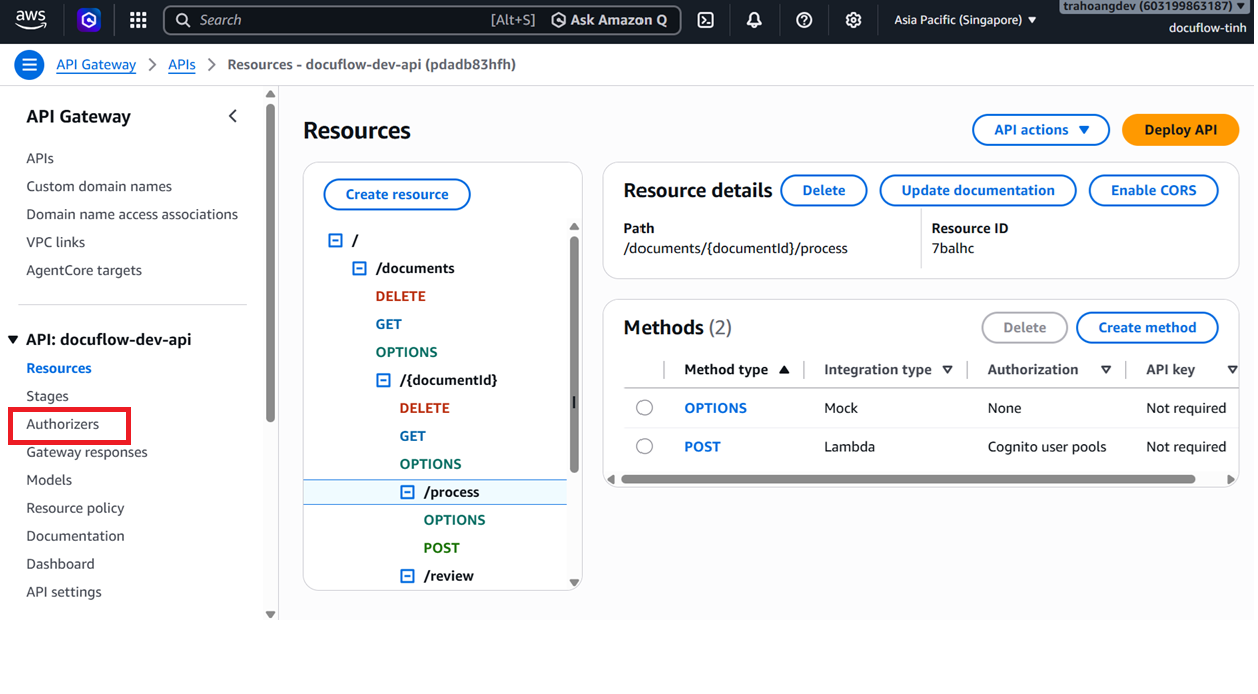
Click Create authorizer.

Enter
docuflow-dev-cognito-authorizeras the name.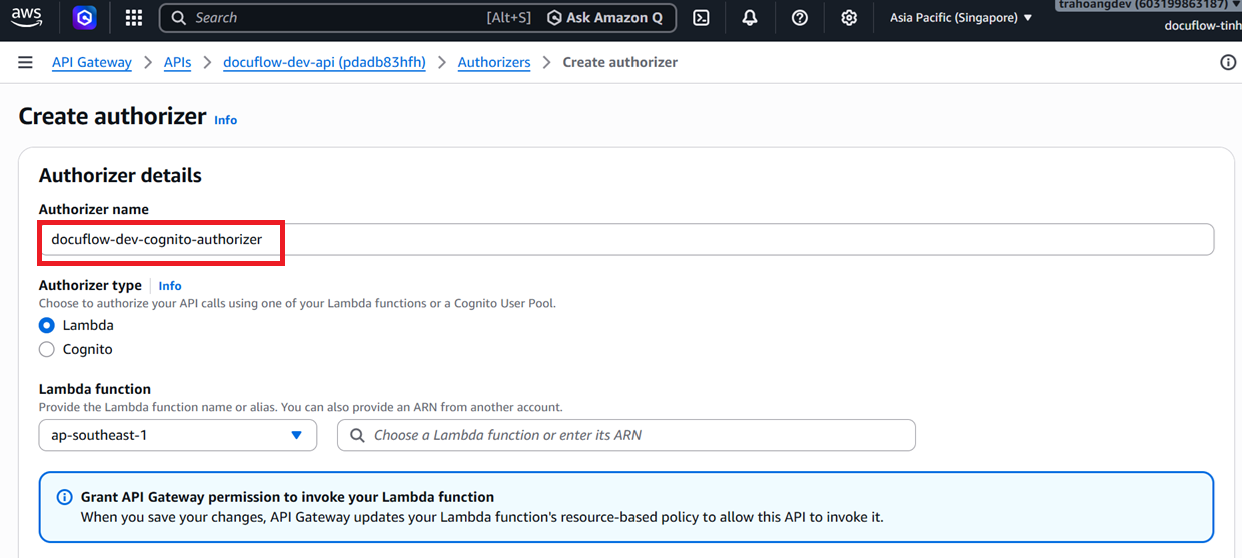
Set the Authorizer type to Cognito.
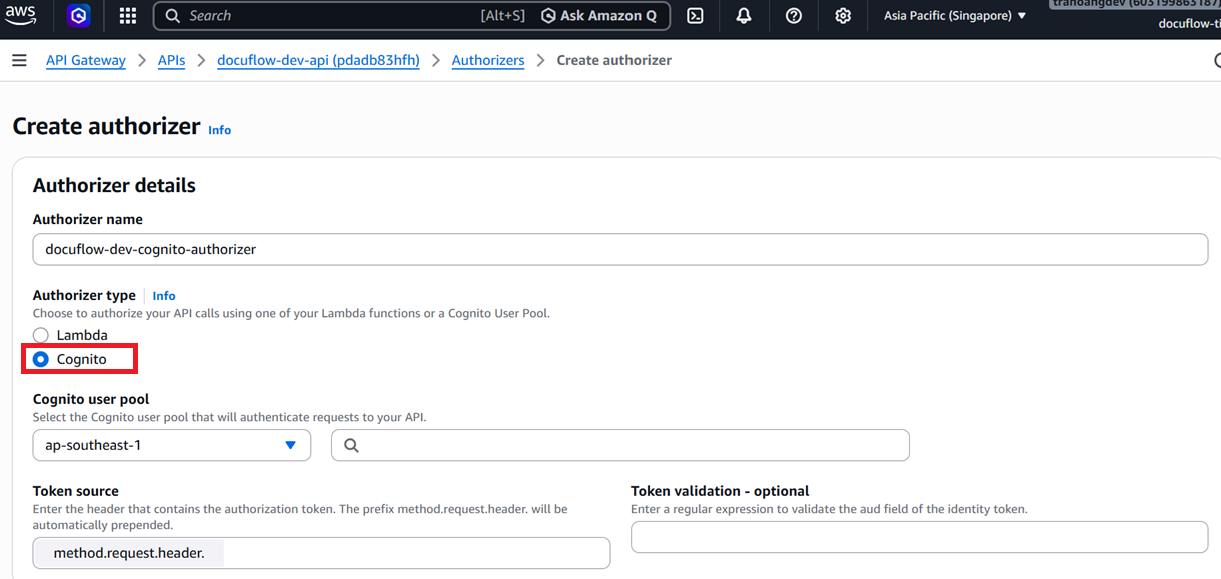
Select the Cognito User Pool created earlier.
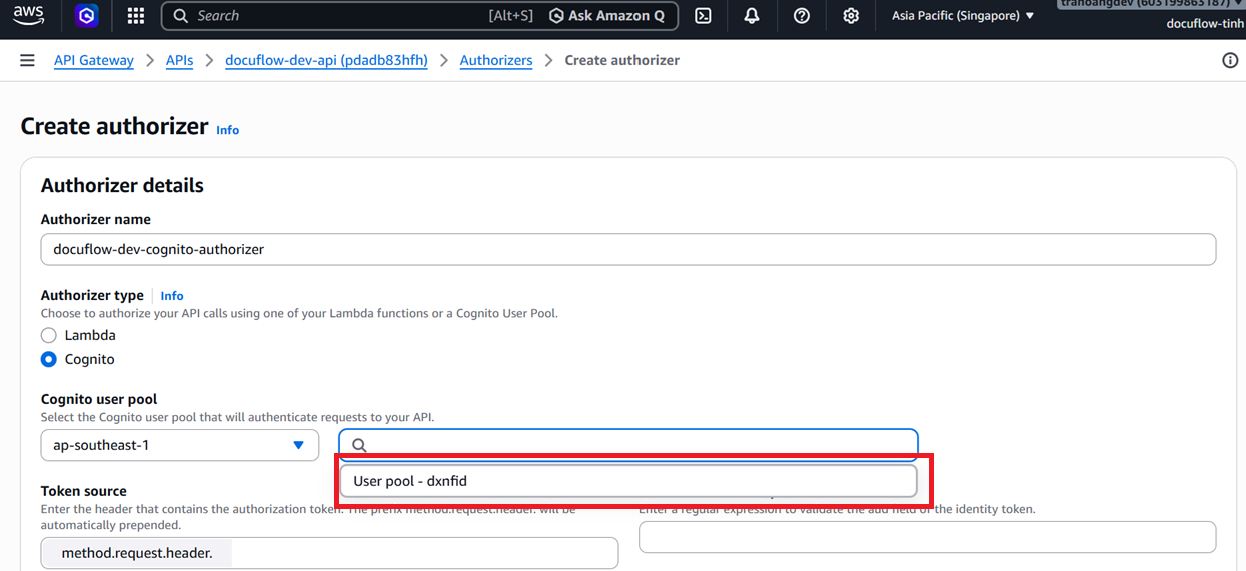
Enter
Authorizationinto the Token source field.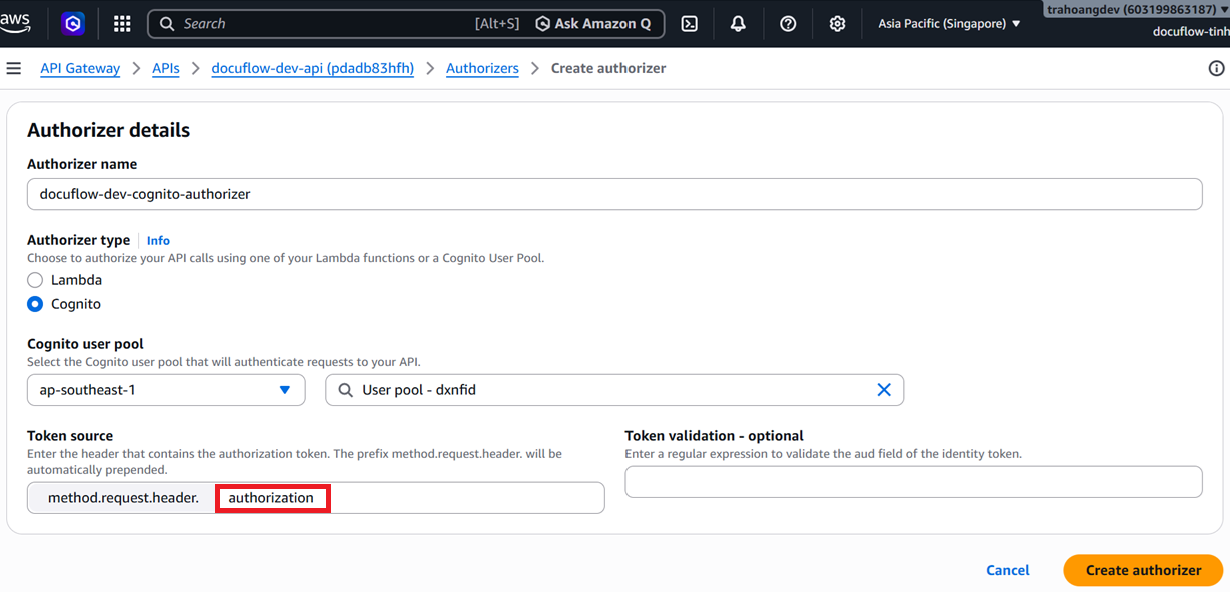
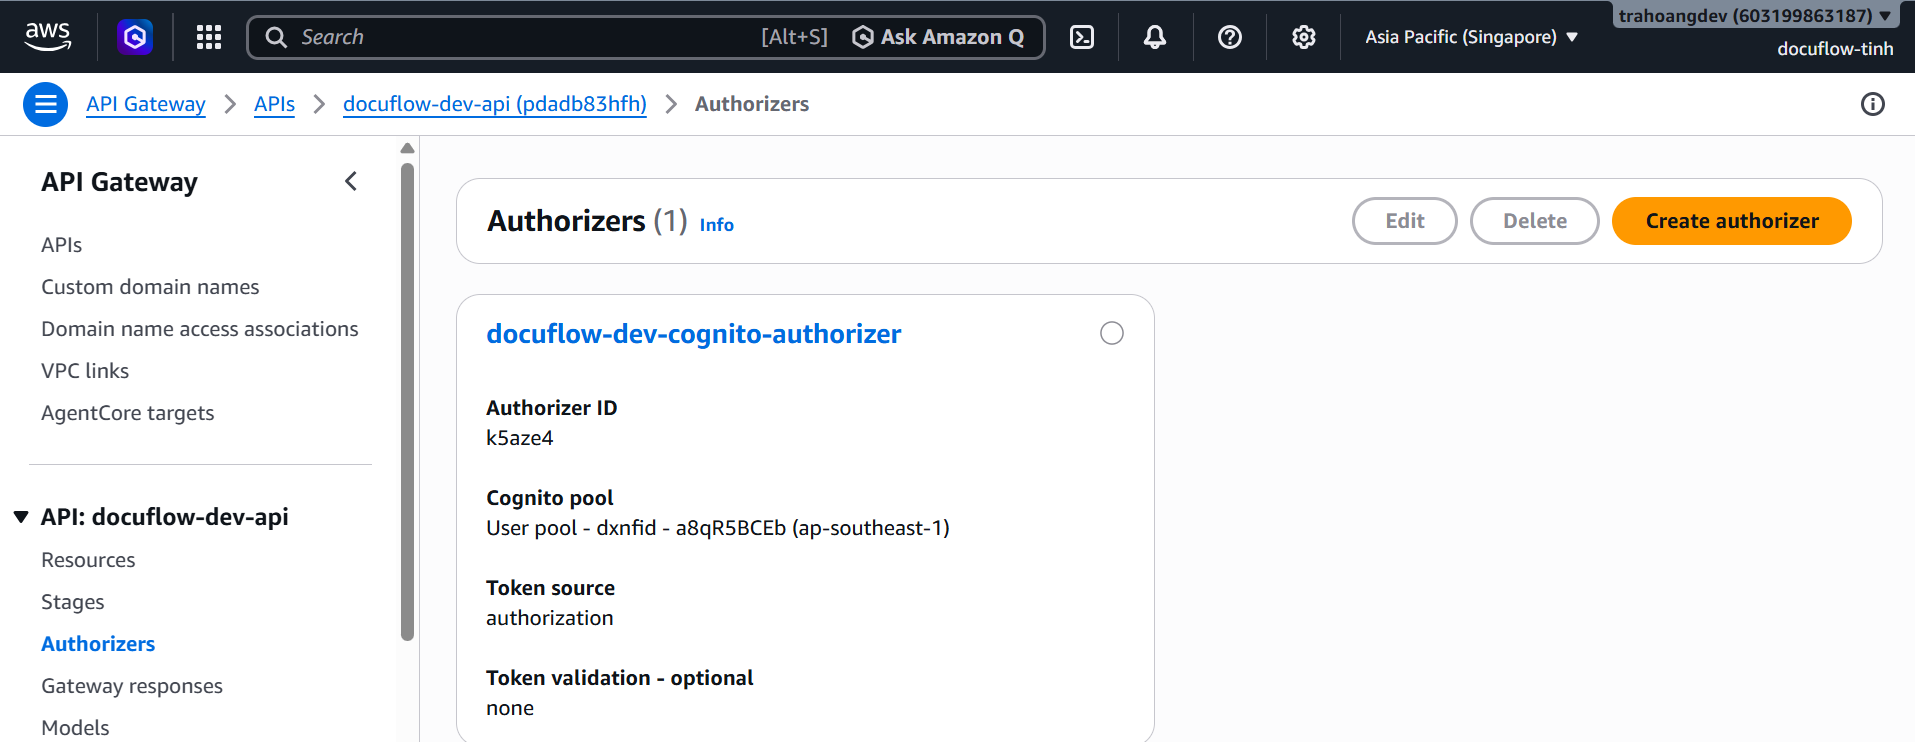
Click Create authorizer.
Step 4: Secure Methods using the Authorizer
Navigate to the
DELETEmethod of/documentsand click Edit in the Method request settings.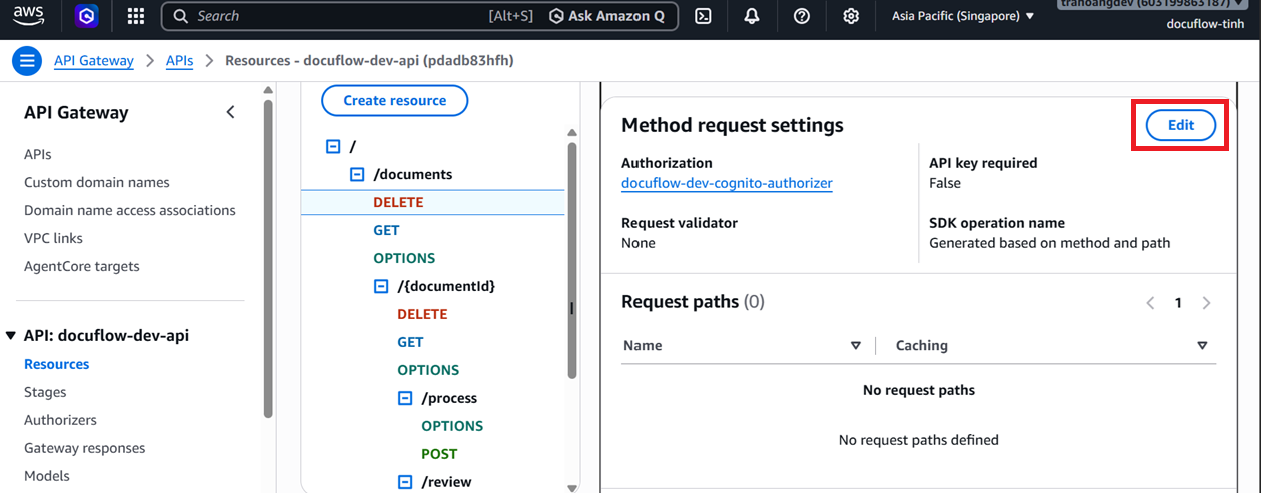
Under Authorization, select the Cognito Authorizer created previously and click Save.
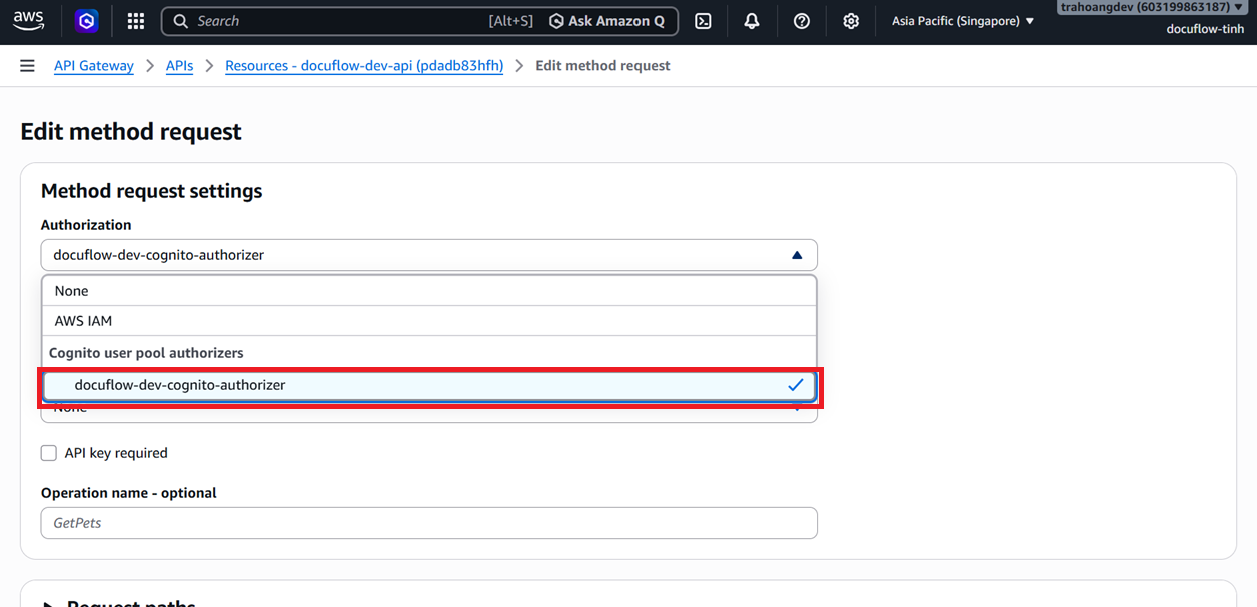
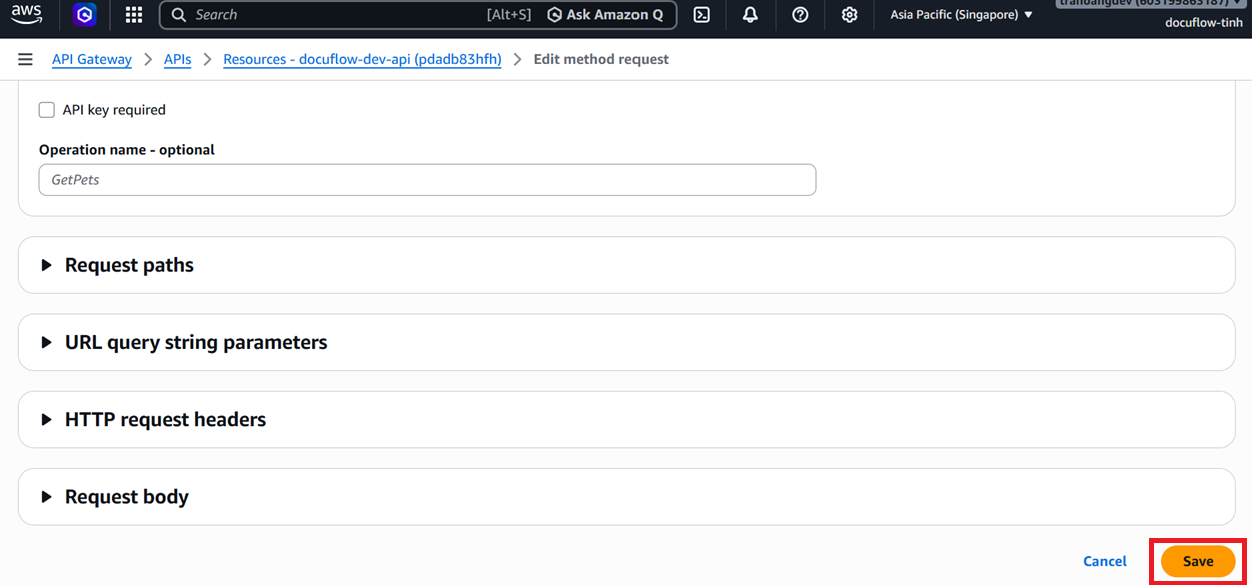
Repeat this process for all other methods:
GET /documentsDELETE /documents(optional extension)GET /documents/{documentId}DELETE /documents/{documentId}(optional extension)POST /documents/{documentId}/process(optional extension)POST /documents/{documentId}/retry(optional extension)PATCH /documents/{documentId}/reviewPOST /documents/upload-urlGET /notifications(optional extension)PATCH /notifications/{notificationId}(optional extension)GET /activity(optional extension)GET /reports/summary(optional extension)
Step 5: Deploy API and Update Frontend
On the main API page, click Deploy API.
Select New stage, enter
devfor the Stage name, and click Deploy.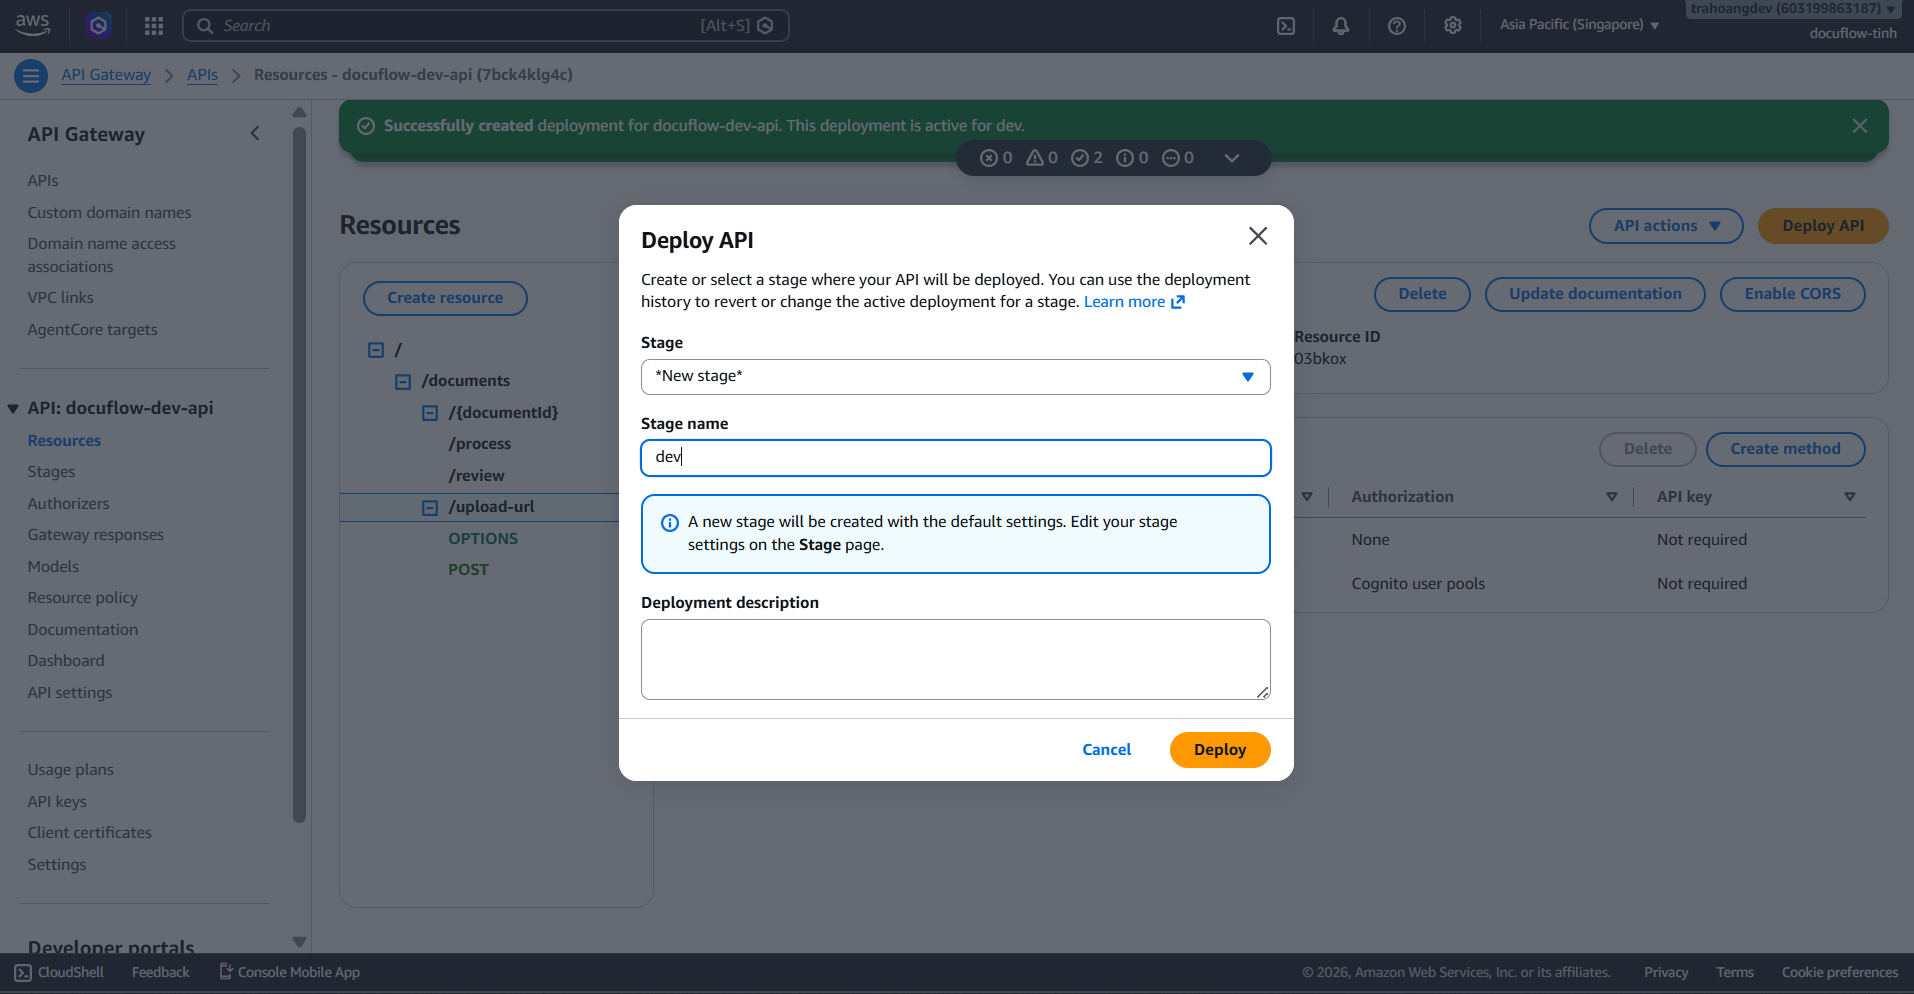
Once deployed, the Stage details page will appear. Copy the Invoke URL.
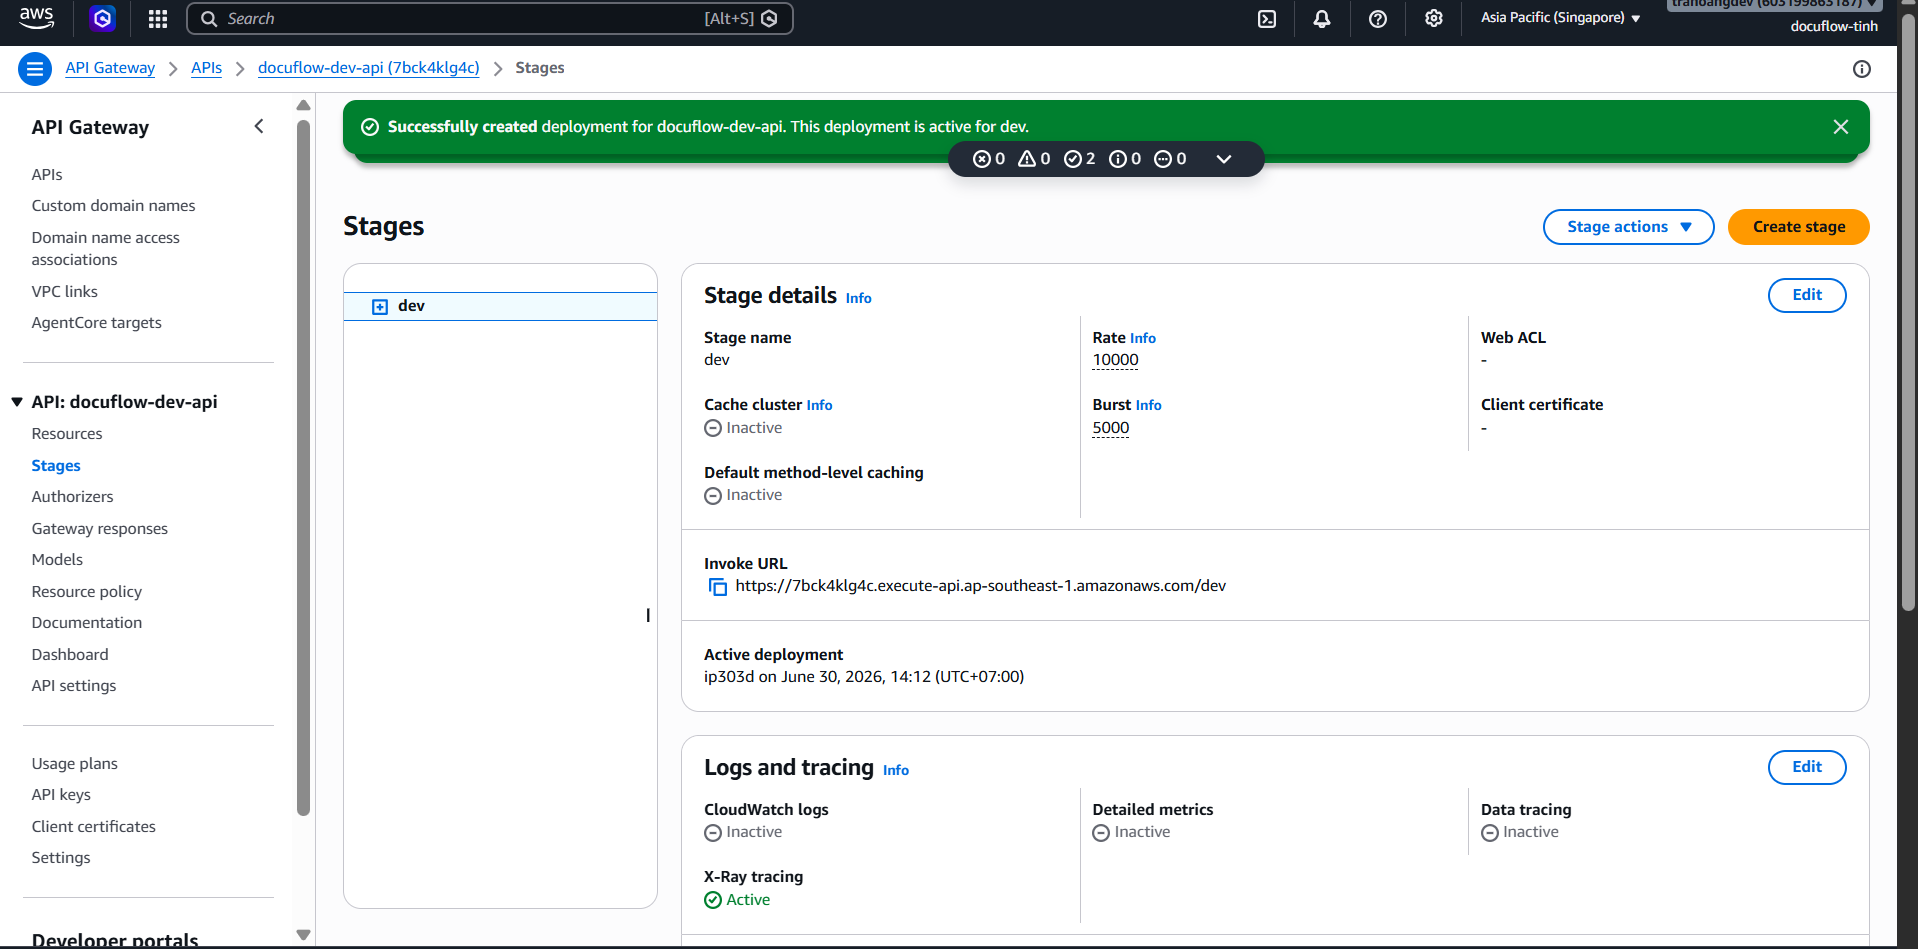
Paste the Invoke URL into the
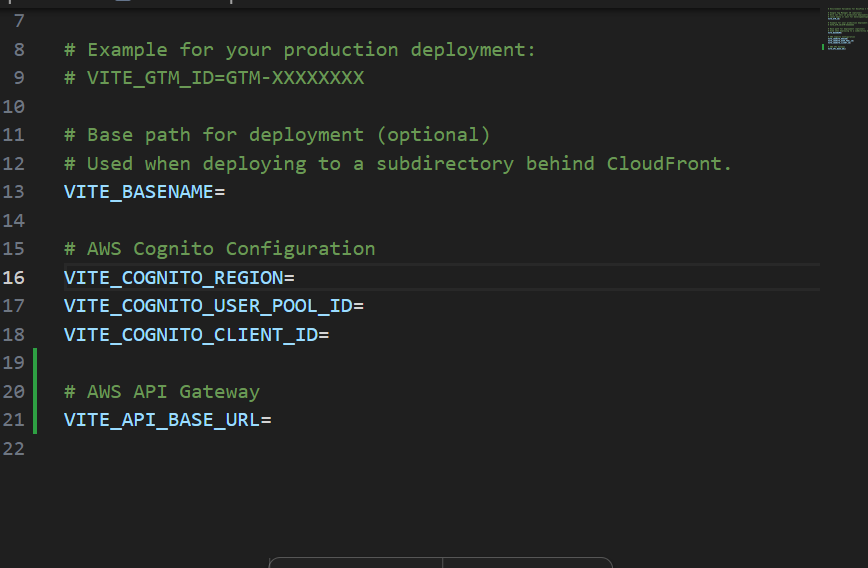
VITE_API_GATEWAY_URL(orVITE_API_BASE_URL) variable in your frontend’s.envfile.